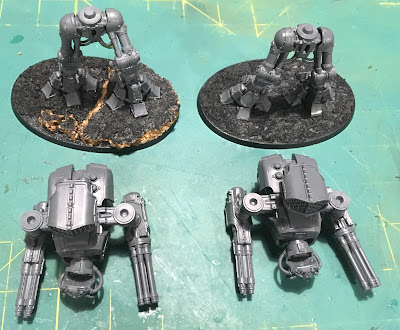
As October comes to a close, I found time to put together the second Reaver Titan for my Legio Tempestus Axiom Maniple. I was really leaning toward the power claw, but in the end I decided to stick with the ranged weapon arms. I'm hoping for some additional weapon options in the near future! And, if I end up regretting the choice, it's a good excuse to build another Reaver! Regardless, I really see my Reavers and Warlords standing back to blast the enemy while the Warhounds and Knight banners get up close and personal with any enemy engines looking for a melee fight.
I magnetized this Reaver in the same manner as the first so it will be ready for any future weapon options. This also gives me some flexibility if I want to try giving each Reaver the same weapons as well.
 |
| magnets attached |
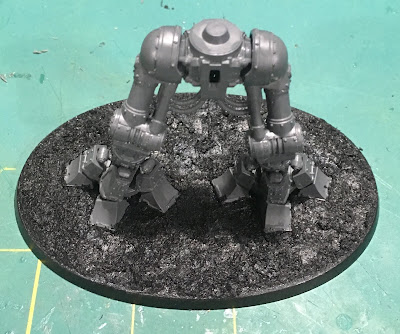
The upper arms are the easiest to magnetize by simply trimming off the locator nub and gluing an appropriately sized magnet in place, carefully centered on the arm. These magnets will socket into the weapons when they are attached as shown below.
 |
| holes drilled |
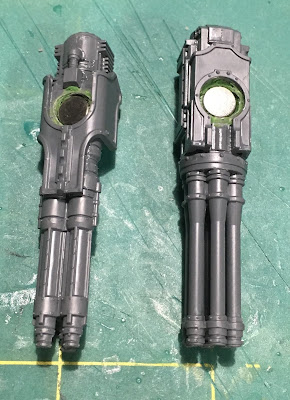
Next comes the relatively easy, but scary, task of boring a magnet sized hole into each weapon body. The weapon was then packed with green stuff in sufficient quantity to allow me to firmly seat a magnet so it is recessed by the thickness of an arm magnet. This approach forms the socket used to attach the weapon to the upper arm.
 |
| magnets in place while the green stuff cures |
Make triple sure to manage you magnet polarities carefully! For this project I made sure both Reavers use the same polarity so all of the weapons are fully interchangeable between them. The Apocalypse Missile Launcher was also magnetized. This is a simple process since sockets are provided for this purpose in the mold.
 |
| All parts attached |
 |
| ground cover applied to the base |
Cheers and Happy Gaming!

They look cool, like a Dreadnought sized project, a lot more achievable than a full sized 28mm Reaver! Neat work on the magnets. I thought GW designed the arms for magnets too? Seems like a missed trick by them.
ReplyDeleteI guess they did for the Warlord which is basically a new (ish) design. I haven't opened mine yet. As I understand it, the Reaver is taken from the original forgeworld cast which did not have such things, of course. In reducing it down, they apparently did not under take to redesign any of the parts for the sockets. I expect we'll see anything new coming with potential magnet sockets, though.
DeleteI should add that I sorta feel like cheating working on these tiny titans while watching the brilliant work of yourself and others on the big boys...
Delete