A journal of my efforts towards completing various and sundry Warhammer 40K projects involving the many Armies of the Imperium of Mankind.
Enjoy and feel free to comment...
- Home
- Adeptus Custodes Paint Recipe
- Adeptus Mechanicus Paint Recipe
- Aeronautica Imperialis Paint Recipes
- Blades of Vengeance Paint Recipe
- Dark Angels (Pre-Heresy) Paint Recipe
- Dark Angels Paint Recipe
- Death Korps of Krieg Paint Recipe
- Deathwatch Paint Recipe
- Grey Knight Paint Recipe
- House Taranis Paint Recipe
- Legio Ignatum Paint Recipe
- Legio Tempestus Paint Recipe
- About
Friday, March 30, 2018
WIP: Custodes Shield-Captain w/Ax - Part 2
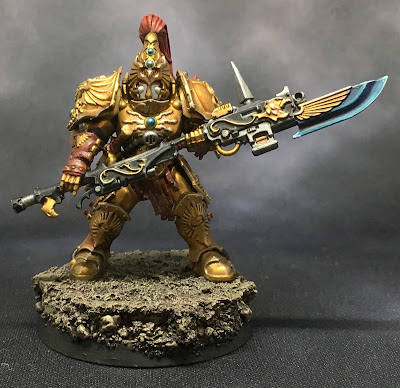
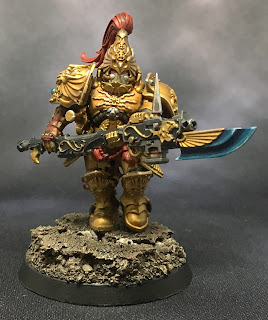
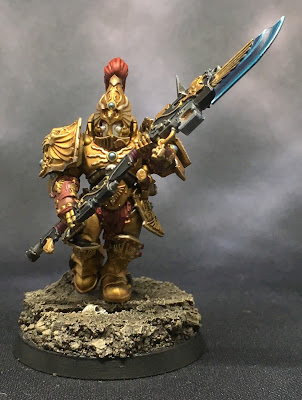
The Custodian Warden-based Shield-Captain is coming along well. In this article I'll describe the work that brought him to this stage. He's very close to being mounted on his base at this point and I hope you agree his stature as a member of the Adeptus Custodes is starting to come through.
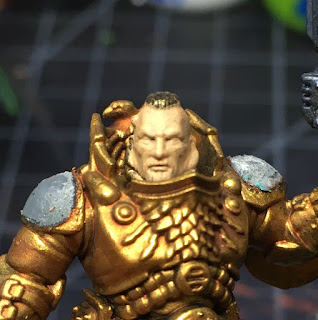
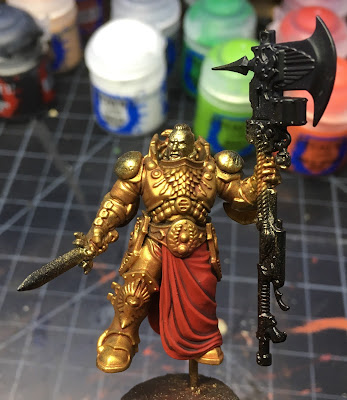
First, the head got a couple of thin coats with GW Kislev Flesh. This was then shaded with GW Reikland Fleshshade. The hair was based with GW Rhinox Hide. The lips were shaded with GW Carroburg Crimson. These steps brought the head to a decent starting point. The Shield-Captain's age and expression now come to the fore.
The leather work got painted following my the recipe of GW Doombull Brown shaded with GW Agrax Earthshade and highlighted with GW Wazdakka Red. The silver/gray components of the armor were painted with Vallejo Oily Steel (70.865) shaded with GW Nuln Oil and highlighted with Vallejo Air Steel (71.065). I also noticed during all this that I missed painting some of the armor joints under the arms, so that got corrected. Next up, the cloak and skirt got some more attention.
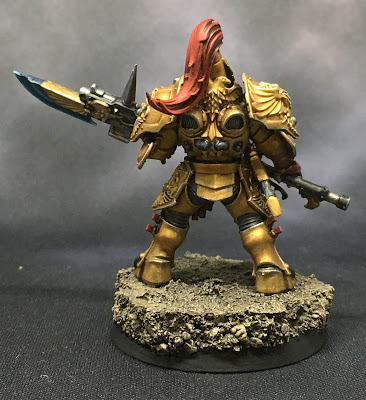
In the closeup above, the highlights on the back of the skirt are clear. A careful highlight of GW Evil Sunz Scarlet was applied along with some layers of GW Mephiston red where needed to correct mistakes and soften the effect of the Agrax in places. All of this work on the back will be covered by the cloak, of course, but I'll know it's there. :) That is the perfectionist in me, I guess. I just cannot leave all this great detail unpainted even when it is hidden! The vents were dry brushed with a bit of the Oily Steel while I was painting other metal bitz and then shaded with Nuln Oil as well.
Then the cloak was glued on at last, using Testors plastic cement. At some point during all this, I recognized that I had forgot to drill out the bolter barrel on the ax. So that had to happen, and the interior of the barrel was then painted with GW Chaos black.
The blue gems were painted with Vallejo Silver, then with a generous dollop of GW Soulstone Blue. The dagger was highlighted with a little Vallejo Silver as well. P3 Sanguine Base was painted on the grip of the dagger and the ax then shaded with Agrax Earthshade. This will later get a highlight of Sanguine Highlight. The dagger hilt was also cleaned up with Vallejo Brass and shaded with the Agrax Earthshade as well. Perhaps not so visible in the pictures, the armor received an initial Vallejo Brass highlight. A pass of Vallejo Gold and a pass of Vallejo Old Gold highlights are yet to come in the next session.
I'm very pleased with the progress so far. It felt good to get just enough paint on the head to start bringing the figure to life. I hope you have been enjoying this series of character works-in-progress so far. As always, comments are welcome.
Cheers and Happy Gaming!
Wednesday, March 28, 2018
WIP: Deathwatch Watch Captain w/jump pack - Part 2
With the passing of DreadTober 2017 and Squaduary 2018, this Deathwatch Watch Captain made it back to the head of the queue. He might have been helped along by the reveal at Adepticon that a Deathwatch codex is on the horizon for this year. I'd really like to get some progress done one everything I have built and primed so far. This session started out with some shading of the metals, GW Reikland Fleshshade for the gold and GW Nuln Oil for the silver.
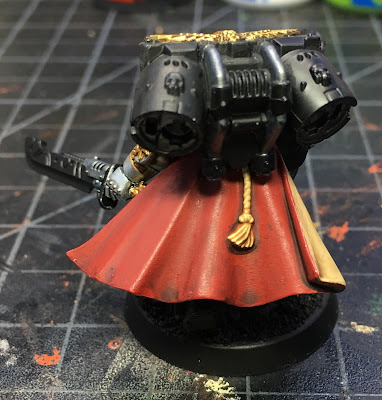
Next up, the cape got some work. GW Mephiston Red was laid down on the outside while the lining was painted with P3 Menoth White. Both were then tidied up and shaded with GW Agrax Earthshade. While waiting for things to dry, the purity seals got the basic treatment too.
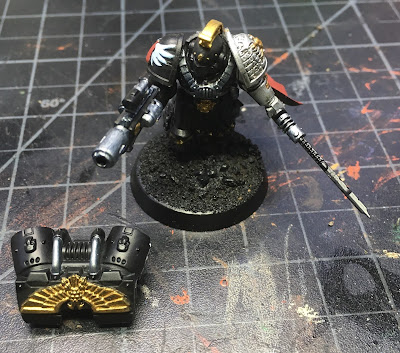
Then the rope down the back got some P3 Menoth White Highlight and two passes of GW Seraphim Sepia shade with a final pass of GW Agrax Earthshade as a pin-wash around the edges to shade where the rope lies on the cape. With these details complete, the jumppack was finally attached. I was frankly getting tired of it laying about and was concerned it might get knocked under something and go missing. Anything important it might have got in the way of has been painted and it should be easy to finish it up now that it is attached. I want to be sure my highlights and other details look consistent across the final model as well.
Next, the leather skirt in the front got some GW Tuskgor Fur, shaded with GW Agrax Earthshade, and highlighted with GW Kislev flesh. Vallejo Brass was painted on the metal bits, and the whole thing was shaded with second coat of GW Agrax Earthshade. This was something new I wanted to try. I might prefer the Custodes recipe using GW Doombull Brown, but I'm letting this sit and grow on me for a little variety across my collection.
The gold bitz were given an initial highlight of Vallejo Brass as well, but it doesn't show up in the pictures. The GW Mephiston red was painted onto the helmet eye lenses, followed by a line of GW Wild Rider Red and a shorter line of GW Evil Sunz Scarlet. A light shade of GW Nuln Oil was washed over all to put back some definition where the lenses meet the helmet, and to blend things a bit.
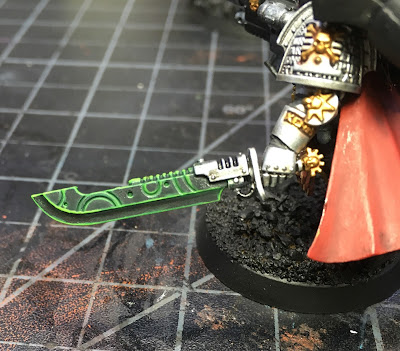
Next a spot color of green was added first to the laurels on the chest plate, then to the alien blade (clearly of Necron origin...). GW Warpstone glow was painted on as a base, then highlighted with GW Moot Green. The the lot was shaded with GW Biel-Tan Green to tone it down and blend things a bit. The a second highlight of Moot Green was applied at certain points to make things pop in a pleasing way. I didn't want these parts to look radioactive or something!
I was pleased with how the sword came out. After the shade dried, a thin line of GW Chaos Black was applied just to the sloped part of the blade where some shadow lies between the two edge highlights. This darkened the effect of the green shading enough to emphasize the shadows, though I'm not sure it shows in the photos much.
Last up, I tried out some new pens to add text to the scroll work. The close ups look more muddled than the effect seen on the model at a more normal distance. It's still much better than my painted attempts...and it looked even better before I brushed GW Lahmian Medium over it to seal things. I'm guessing I should have waited longer for the ink to dry - but perhaps this is better done with the airbrush...or during the final sealing process with Model Masters Lusterless Flat. Live and learn...
So that's where things stand so far. Probably one more article to document the completion of this model with some gallery shots in the light box. The combi-melta is next up for completion, then the black armor and the cloak need highlighting, of course, and there are other small details here and there. But I'm confident I will see this model done very soon.
I hope you have enjoyed seeing the progress unfold. As always, comments are welcome.
Cheers and Happy Gaming!
Monday, March 26, 2018
WIP: Grey Knights Brotherhood Champion - Part 1
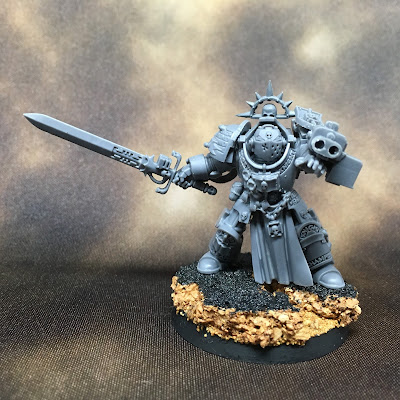
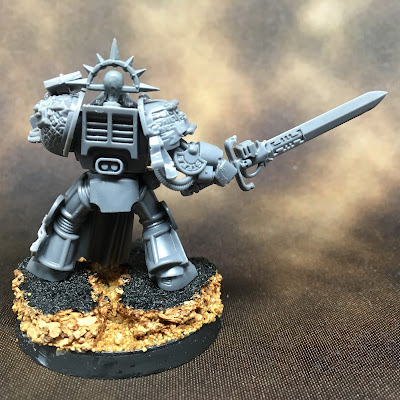
Today I have a new character for my Grey Knights on the painting table. I built this Brotherhood Champion last year after the codex dropped and it is time for him to get some paint. Here's what he looked like after the build. He has been glued down on a custom cork base of my own design. Vallejo Black Lava was used to add surface texture and mask the distinctive look of the cork.
Army Painter Matt Black primer was laid down in the spray booth before painting got under way.
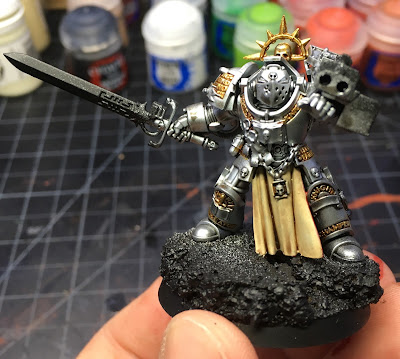
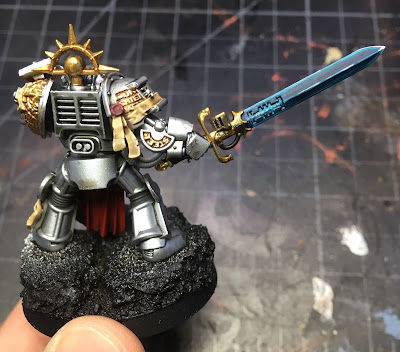
Nothing special here...just-another-primed-model in the collection. But wait...there's more! This guy took a turn in the spray booth getting a base coat of Vallejo Model Air Steel (71.065) on the armor. This was then shaded with an over all coat of GW Nuln Oil Gloss. The GW Mephiston Red was painted on the lining of the loin cloth, while P3 Menoth White was painted on the front. Both front and back were then shaded with GW Agrax Earthshade. Gold details were painted on the armor with Vallejo Brass (70.801) and shaded with GW Reikland Fleshshade. At the end of the first session the champion was starting to take shape.
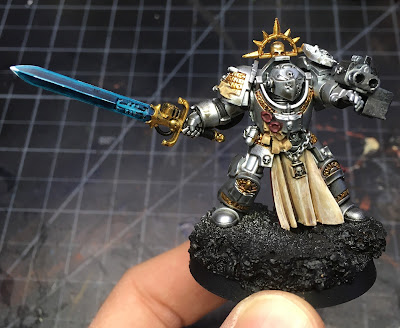
Next up, I tackled the power sword and details such as scrolls and purity seals. I finished the sword blade, but the hilt needs more work. I chose to work with the paint scheme I chose for the Custodes. Honestly, I'm still getting used to it, but it definitely grows on me day by day. It is certainly better than my "blue shade over gunmetal" scheme from older days...At least the blades clearly stand out as power weapons for games.
So the champion as coming along quite well. Some remaining details and highlighting to complete. Then, I will do the base and seal everything up. I *love* the look of Grey Knights. It's a shame I enjoy painting them so much more than the Dark Angels.
Next up, I'll have some progress on a my Deathwatch Watch Captain with Jetpack, so check back later in the week for that.
Cheers and Happy Gaming!
Thursday, March 22, 2018
WIP: Custodes Shield-Captain w/Ax - Part 1
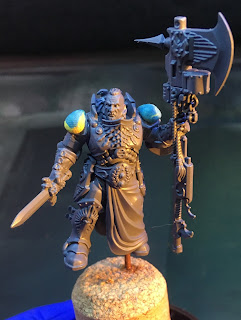
Another Custodes character gets a turn in the hobby queue. This Shield-Captain was built from the Custodian Wardens box set. He so far my favorite of the available stock plastic builds for a Shield- Captain. As a recap from my prior "on the workbench" post, the initial build looked like this:
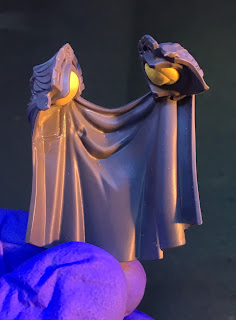
The cloak was left unattached for painting, which is quite easy with this model.
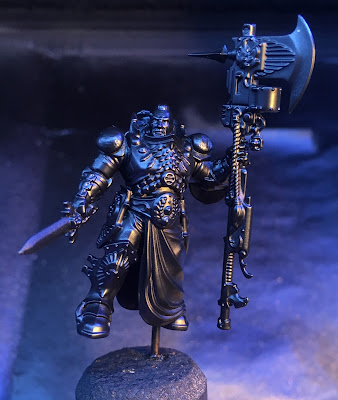
He started out in the spray booth for an Army Painter Matt Black primer coat. I normally use Vallejo Surface Primer Black in the air brush, but took a short cut here since I have a large number of rattle cans on hand (preping for Sector Mechanicus priming in the driveway this spring...). This Army Painter primer used to be my favorite go-to for undercoating and still goes on very well. Prior to priming, The model was mounted on an old bourbon whiskey cork and poster putty was stuck to the attachment points for the cloak for later gluing. I might have mounted the cloak on a holder for painting, but decided against it this time around. I won't be doing enough painting on it prior to attachment to make it work the time.
Some eerie nightclub photo effects from the spray booth there to add a bit of character to the post. :) Finally, we have some black spray laid down...ok, nothing to see here...
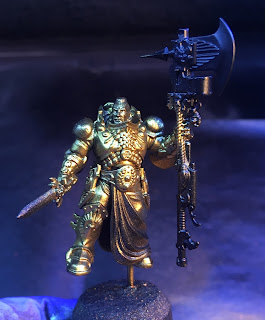
Once the primer coat had dried, it was time to break out the air brush for a base coat of Vallejo Brass (70.801) on the armor. A few drops of Vallejo Flow Improver were mixed in well to aid in the spraying. I wasn't concerned with being so careful with the airbrush at this stage, but I did try not to go crazy when laying the paint down on the model...
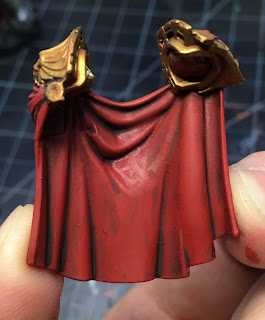
Next up, the cloth got a base coat of GW Mephiston Red with the airbrush. A little Flow Improver was added here as well since I don't have a pot of the airbrush version for this color currently. This time I tried to be a lot more careful...but I'm not using an especially fine needle in my brush, nor was the air pressure dialed down an much as it probably should have been. I'm just blocking in colors at this point so I didn't feel it worth the time to get all crazy with the tools and settings. Here is a shot of the model fresh from the spray booth and back on the painting table.
You can see the base got some love in the booth as well. A Vallejo dark brown is put down over a black primer. I then use a Vallejo medium brown to highlight the edges and some projecting flat surfaces to add character. This is generally then washed with GW Agrax Earthshade and highlighted appropriately. Here's a couple shots of the base in progress so far...
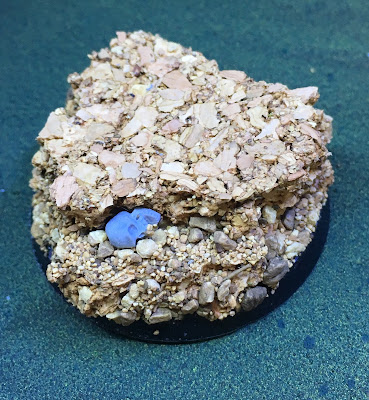 |
| Everything Glued Down and Ready for Paint |
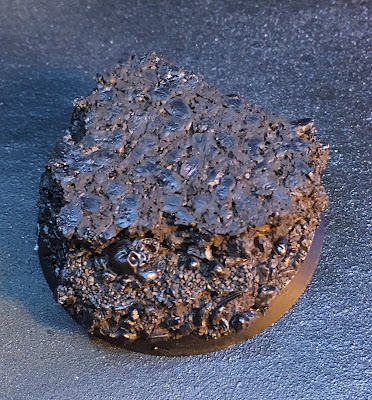 |
| Base Color Applied |
Shade applied, this fella is looking good already! Stay stunned for the next WIP post and follow the progress as it unfolds. If there is something I could add to the posts to make them more informative or interesting, don't hesitate to shout out in the comments. I'm experimenting by painting three models at the same time and working up separate WIP posts for them in the hope of having a little more content (and variety) to share as well as making better progress on a variety of TO-DO list items in parallel.
So look for more WIP posts coming soon that include a Grey Knight Brotherhood Champion and a Deathwatch Watch Captain with jump pack. Otherwise, that's it for now!
Cheers and Happy Gaming.
Sunday, March 18, 2018
Adeptus Custodes with Halberds To DONE
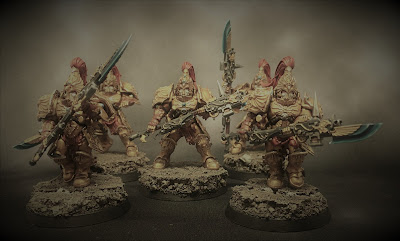
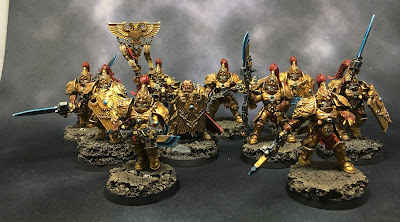
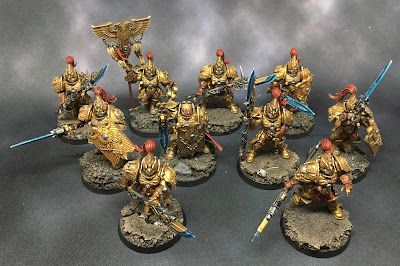
It's time to call the Custodian Guard with Halberds DONE. The Halberds got some GW Dawnstone highlights, while the gem sockets got a little touch up with Vallejo Brass (70.801). Then they got an all over coat of Model Master Lusterless (Flat) to seal the work. The final squad looks like this.
The combined force of Sentinel Blades and Halberds looks like this...
That is a pretty good match for being completed a couple months apart. Here's a close up of the power weapon effect I chose for the halberds.
I'm pretty happy with it. I'd be ecstatic if I'd attempted the crackling energy effect...but like with the swords, I chose to leave it off for now. I may come back to it if I perfect something int he future. For now, I like this effect, particularly how it differs from my other Imperium forces. The Custodes should stand out.
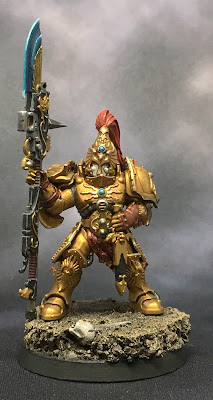
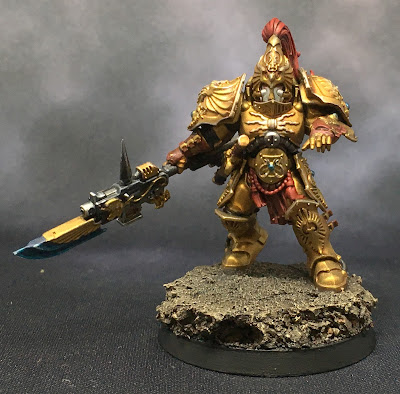
Now some close ups of each model...
All in all, a satisfactory project. Time to call them done and move one...but what will be next? I'm putting some thought into that. I have a Freeblade Knight Paladin to complete, more Deathwatch, Grey Knights and Dark Angels to paint...a DKoK Baneblade to complete...and more Custodes of course! I think I'll take a break on the Custodes though...so...?
Check back later to find out! For now, here's a seal of DONE!
Cheers and Happy Gaming!
Subscribe to:
Posts (Atom)

