Friday, April 29, 2022

WIP - Warmaster Titan for Adeptus Titanicus (and other stuff)

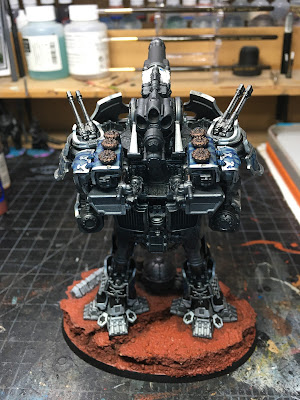
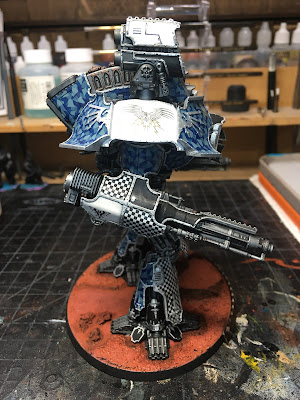
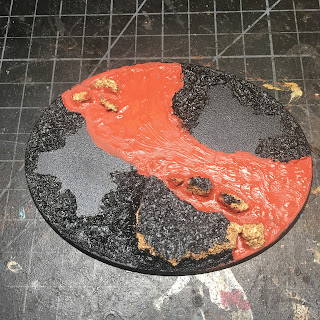
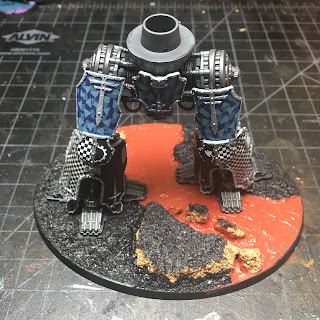
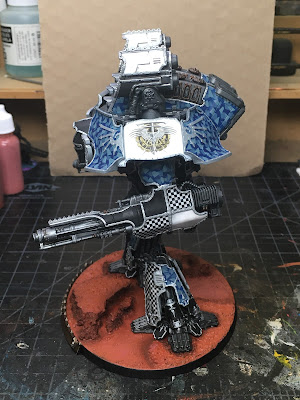
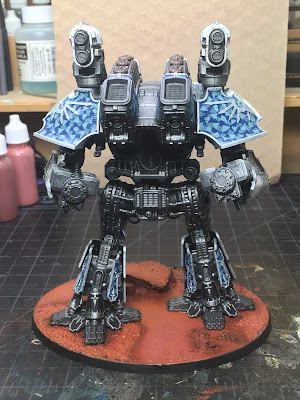
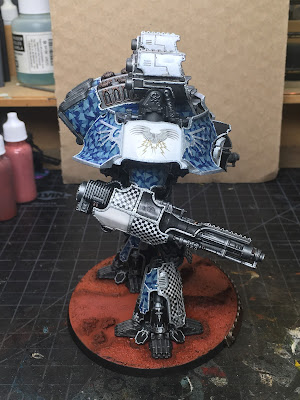
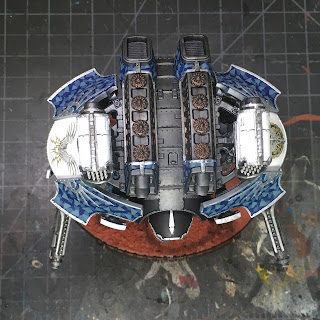
Warmaster Titan WIP for Adeptus Titanicus

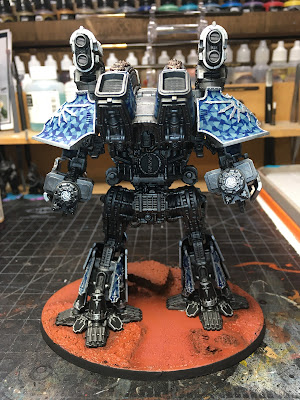
Greetings, and welcome back.  I have some progress on the Legio Ignatum Warmaster Titan to share this week.  These AT titan projects all go through a stage where there isn't much to show and so my posting gets sporadic as I work through them.  I like to post twice per week, but on Tuesday I had a bunch of sprues with various stages of paint on them...not much to share.  Now, on Friday, I can at least walk through my process to paint the Legio Ignatum colors on the armor. 

Warmaster Titan WIP for Adeptus Titanicus

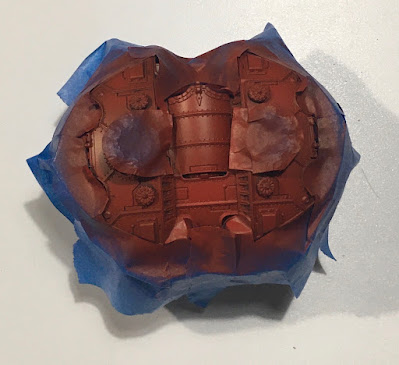
After priming everything black, the masking process began.  The first stage is to plan out the paint scheme and identify which colors will go on which panels, same as I did with the Legio Tempestus engines for MonsterMarch.  This can be tricky with the left and right side bits being different in some cases, so I work carefully here.  Above, I masked out anything that was going to stay black, or be black and yellow stripped, so I could lay down the Legio Ignatum red.  For the exact colors used, please refer to the paint recipe tab above.

Warmaster Titan WIP for Adeptus Titanicus

After a couple coats of paint from the airbrush, things look like this.  I typically finish up for the night here and come back the next day to pull the tape off.

Warmaster Titan WIP for Adeptus Titanicus

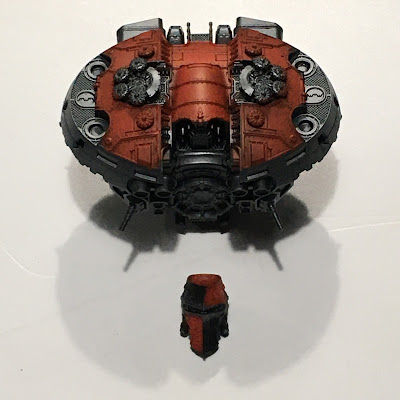
Here's where things end up with the tape pulled off.  Now it's time to mask the red parts and work on the yellow stripes.

Warmaster Titan WIP for Adeptus Titanicus

I'm masking just enough to keep from accidentally getting over-spray on the red.  If you are careless, just plain messy, or want to be super careful, go ahead and mask everything.  Once the parts getting yellow stripes are isolated, it's time to mask off the stripes.


Warmaster Titan WIP for Adeptus Titanicus

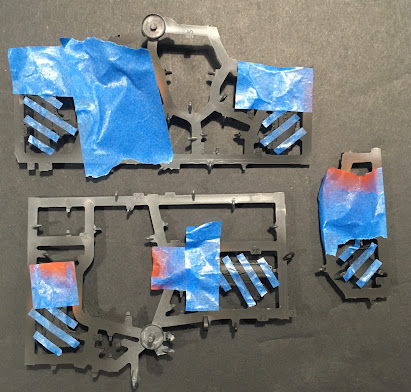
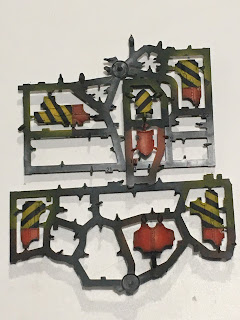
My approach is to use fine line masking tape of a desired width to lay down the stripes.  I bought a variety pack at some point with various sizes so I choose a width that works for the scale of model I'm working on.  I couldn't tell you what size I'm using here...thin 😁... I usually lay the first piece across the middle of the part to establish the angle - looking for some recognizable points on the part (like corners, rivets, etc) to orient the tape so I can reproduce it on any mirrored parts, like the lower leg armor, or the upper carapace armor.  This helps insure the stripes are at a uniform angle and balanced across the parts.  The tape is laid down to cover the entire part, stripe-by-stripe.  The I go back an peel off every other stripe, revealing the paint underneath - these will be the yellow stripes. Above you can see the results, after the tape is removed.  You can use the tape you peel off one part to mask part of the next so you won't wast too much tape in the process. By laying the tape in this manner, you avoid any measuring, and the possibility that your stripes will be uneven in width across all the parts.

Warmaster Titan WIP for Adeptus Titanicus

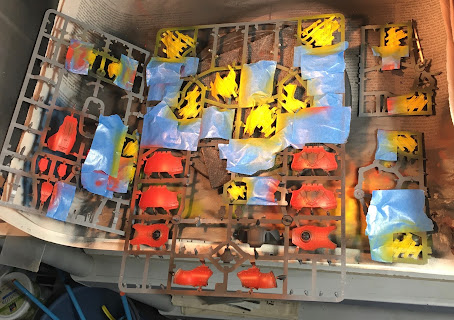
Then the yellow is sprayed on.  The paint I use for yellow here is thin, so several light coats are sprayed on until I get a vibrant yellow with little or no black showing through.  Also, and for those with keen eyes, a couple puppies ran through the spray booth while I was working on the project and got paint on themselves too...can you spot them above?

Warmaster Titan WIP for Adeptus TitanicusWarmaster Titan WIP for Adeptus Titanicus

After another night of drying, the tape is removed to reveal the final patterns.  At this point, no matter how carefully I mask, there is always some paint that sneaks under the tape.  I guess this is better than tape that is more sticky, but then peels off the paint when it is removed.  I'll go back and touch up the black before sealing it all with a gloss coat.  The gloss coat is for later shading, and to fill in and smooth out a bit of the texture since the yellow stripes will be a bit raised on the black paint due to their multiple layers of paint. 

Warhound Titan WIP for Adeptus Titanicus

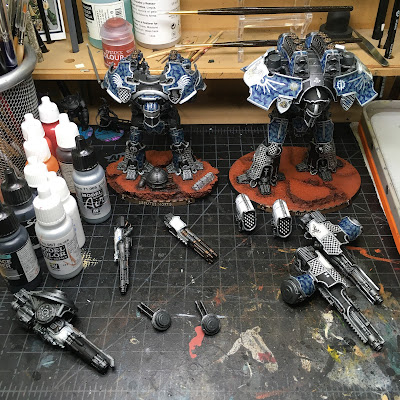
As I worked on the Warmaster titan, I decided it would be efficient to also put some paint on a couple Warhound titans I had built last year.  With paint in the air brush, its just easier to make progress like this. And once the base colors are down....I might at least carry on and complete them right? Incentive! So now I have three titans in progress for May painting fun. These are my only magnetized Warhounds. I did that here because I wanted the option of trying out the new weapons options from Forge World, but didn't want to build whole new Warhounds for them.  Sorry Legio Tempestus - perhaps I'll add a couple more magnetized engines for that Legio at some point...but probably not.


Warhound Titan WIP for Adeptus Titanicus

These hounds will have stripes only on their leg armor.  I will have four Warhounds in total for Legio Ignatum, once these are painted, and I like to vary the heraldry.  These proud engines demand some individuality afterall.

So that's what I've been up to this week.  next week I'll have more paint work to share as I carry these projects forward.  Not sure if I will continue to batch paint the three engines or separate them into individual projects at this point.  Check back next week to find out.

Cheers and Happy Gaming!


Friday, April 22, 2022

Magnetizing the Warmaster Titan for Adeptus Titanicus


Warmaster Titan WIP for Adeptus Titanicus
A naked Warmaster Titan Waiting for Primer

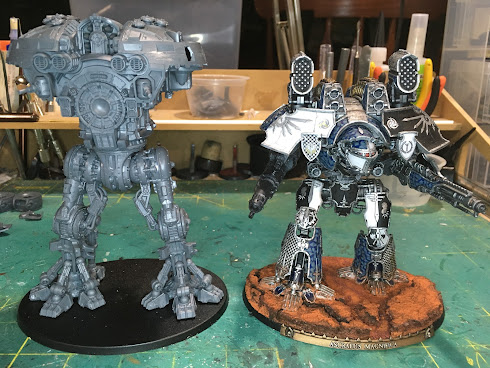
The Rites of Construction for Superbia Martis have finally concluded. I thought I'd take some time today to share what I magnetized and how/why. This process will be consistent with the approach I've taken with the other mini-titan projects that I have completed.  The larger AT kits are expensive and take up enough space that it's worth magnetizing a few options rather than building up an even larger collection of titans, which will then need to be painted, just to represent the various weapon load outs you may wish to play with.

Games Workshop appears to have embraced this reality in their Titanicus models by providing sockets for magnets in many of the expected places.  They also provide many options in a kit so you have something to magnetize. The Warmaster Titan kit is no exception.  In fact, with this kit, you are magnetizing things that don't even have options yet (arm weapons) or for which there are no current rules (the "small arms" on the upper carapace, similar to the Warbringer Nemesis Titan's anti-air guns).

So I'm going to start out with the caveat that some of the Magnetization here is purely for the hobby love and not something that is currently necessary for game play (though who knows where things will turn out down the road).  I'll call this out as I go. So let's get started with the obvious arm weapons...

Warmaster Titan WIP for Adeptus Titanicus

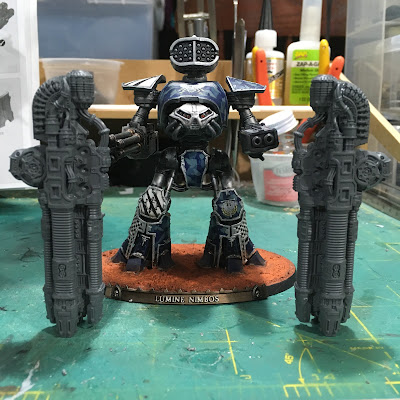
Those are BIG guns...and they never tire! Yes, that isn't an optical illusion - the Warmaster's arm weapons are as long as a Reaver Titan is tall.  We have the Warmaster Iconoclast titan with a different pair of arm weapons, but there is otherwise no optional armaments for the Warmaster at this time.  However, the magnet sockets are there, so why not future proof against the possibility of a future weapons sprue or new resin from Forge World? 

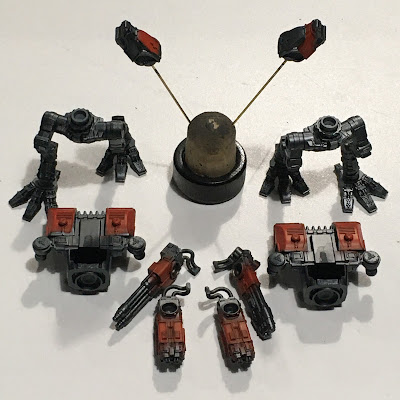
There's nothing novel to discus with the arm weapons.  The arms and shoulders have the expected 5mm x 2mm round sockets ready to go, same as the Warlord Titan.  Just glue the magnets in (watch that polarity!) and you are good to go. Here's what things look like under the "shoulders".

Warmaster Titan WIP for Adeptus Titanicus

But now let's look at the Warmaster's shoulder mounted weapons.  These weapons DO have a profile in the game, and the kit comes with all of the options - six in total.  Five of the weapons use the same shoulder socket, the sixth, missile launchers, attach INSTEAD of the other weapon socket piece which is a pain. I chose to ignore the missile option for now - but  may look into a scratch modification that allows me to attach the missiles to the same socket used by the other weapons.  If I sort that out, I'll post about it here. I imagine others out there in the blog-o-sphere may have already showed off their solution to that problem as well.

Warmaster Titan WIP for Adeptus Titanicus
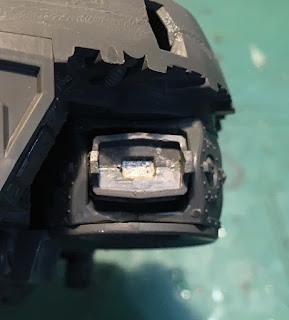
the weapons socket with internal magnet installed

The socket in question looks like this after assembly.  The two halves that form the rectangular weapon mount include enough space inside for a rectangular magnet, 6mm x 4mm x 2mm. This size magnet was not easy to find, but a little web research landed me here. They shipped promptly and the magnets are quite strong.  I expect I'll find other uses since I only needed two but had to buy 50. 😂 An all too typical hobby story for me...

Warmaster Titan WIP for Adeptus Titanicus

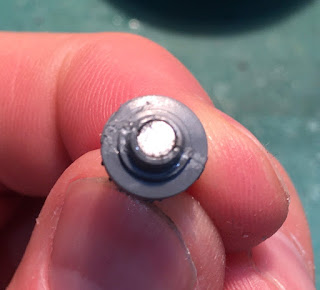
Unfortunately the weapons themselves are not so easy to magnetize. You might consider getting away with some blu-tac or other mounting putty.  But if like me you have a passion for magnets, then there are options.  The male portion of the socket, shown above, is a bit small for a typicall 3mm diameter disc or rod magnet.  I could have saved some time, maybe, by using a 2mm diameter rod magnet, but I had concerns over the strength of the attraction I'd end up with.  So here's what I did.

I carefully sliced off the male portion of the weapon the fits in the shoulder socket, and then drill out two holes for 3mm x 2mm disc magnets underneath it. After the magnets were glued in place (a pain since they want to fight each other due to polarity issues), I glued the male portion that I sliced off back in place over the magnets.  This isn't strictly necessary, but helps the stability of the whole assembly when the weapons are locked in place. This worked well, despite the fidgety work involved, and I was content with the resulting strength of the magnet pull.

However, each weapon is different, so I've only bothered with two options out of the five so far.  I'll come back to that at some point.  It didn't' seem worth holding up the rest of the project for at this time.  Suffice to say that you might find yourself working out five different solutions to get each pair of weapons prepared.  But in the end it's cool to have the weapon swaps since these weapons have stats in the game.

Warmaster Titan WIP for Adeptus Titanicus

The "small arms" on the carapace (only in the 40K universe could demolisher cannon be considered small arms) have pre-molded sockets, so that was back to easy mode.  One word of caution though.  The magnets in the shoulder underneath these can mess with your polarity, so try to think ahead and align everything in the same direction to avoid unneeded hassles later. In this case, I ignored that advice and arbitrarily put magnets in the weapons first before realizing that I chose an orientation opposite what I had used for the arm weapon socket in the shoulder.  Between that and the shoulder weapon socket which is strong and at a 90 degree angle of  pull to the rest, the little magnets on the carapace want to flip over without another thought.  Had I used the same polarity as the arm weapon mount, I should not have had this issue.  It was no big deal in the end, just a bit more patience with the gluing to be sure the magnet doesn't flip in the socket before the glue sets enough to hold it. And the one socket out of four I had to dig the magnet out of and re-glue when I realized it had somehow gotten away from me and flipped anyway.

Warmaster Titan WIP for Adeptus Titanicus

Otherwise this is a trivial magnet project if you have 12 3mm x 2mm (measure - they might have been 3mm x 1mm sockets, I honestly forget) disc magnets. The carapace weapons have no rules currently,  so you wouldn't be wrong to just pick four and glue them down, skipping the extra magnet project. You can choose between what look like demolisher cannon or the same AA guns used by the Warbringer. With the sockets provided, and the magnets already in my inventory, it was a no-brainer for me to just go ahead and magnetize the lot. I'll be smiling if rules come out later that cause me to care what's up there in a game. At least the Warmaster comes with two options unlike the Warbringer which I magnetized for literally no reason in the current model line. 😆

Warmaster Titan WIP for Adeptus Titanicus

So that's my beta on the whole Warmaster magnetization project.  You can magnetize the waist joint as well with BIG disc magnets.  But I am not doing that with any of my AT titans.  I have a floppy, spinny 40K Knight Errant that proved to me why this isn't worth it for gaming.  Best case you use strong magnets and the model holds together but spins about randomly when bumped.  Worst case, you pick up the top and the bottom falls off with the slightest bump.  You'll have enough issues with the arm weapons coming off when you grab the model wrong. It just leaves a fragile/vulnerable point on the model that isn't beneficial unless you have real space constraints for storage. I'm content to store these models on their back using Battlefoam Adeptus Titanicus trays.

So that's way to much to say about magnetizing Warmaster Titans.  I learned most of my hobby skills from many similar accounts on other blogs in the past, so I hope I've provided something useful to you here in return.  Next up will be the first in a series of painting articles on this beast. The primer is already dry and by the time you are reading this, I will no doubt have already put the air brush to work.


Stay safe out there.

Cheers and Happy Gaming!


Wednesday, April 20, 2022

Adeptus Titanicus Warlord and Warbringer Titans - TO DONE


Legio Tempestus Titans for Adeptus Titanicus

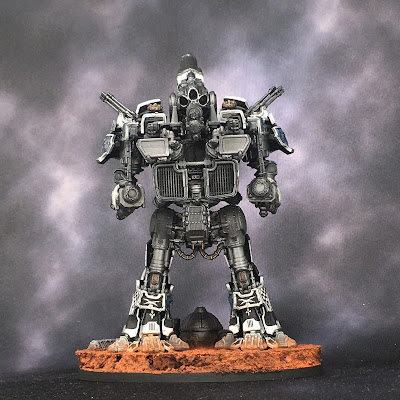
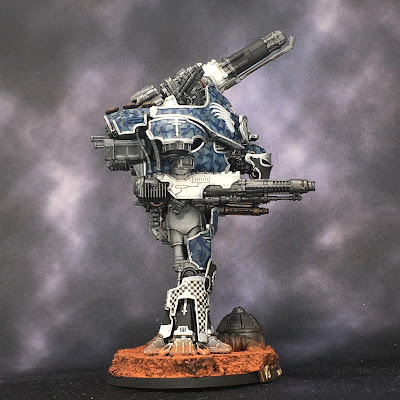
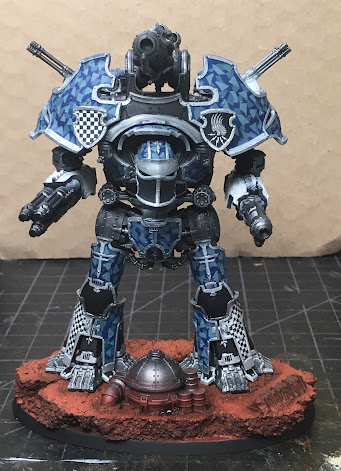
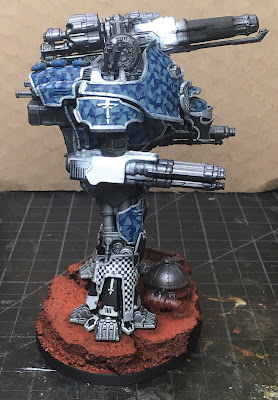
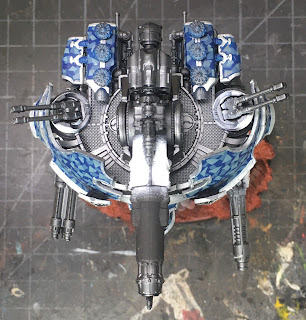
Greetings!  #MonsterMApril1 is finally complete. 😂  Ok, it was #MonsterMarch6, and now it's April so maybe you can see what I did there.  This was the first time I did not complete my project out of six challenges, so I'm not too beat up about it.  Here's the promised light box photos of the completed titans, starting with the Warbringer Nemesis titan, Liberatus Mortis.

Legio Tempestus Warbringer Nemesis Titan for Adeptus Titanicus

Legio Tempestus Warbringer Nemesis Titan for Adeptus Titanicus

Legio Tempestus Warbringer Nemesis Titan for Adeptus Titanicus

Legio Tempestus Warbringer Nemesis Titan for Adeptus Titanicus

I'm very happy with the results.  All weapons are magnetized, so at some point I need to paint up the Volcano cannon option for the main gun. Now on to the Warlord titan Martis Renes.

Legio Tempestus Warlord Titan for Adeptus Titanicus

Legio Tempestus Warlord Titan for Adeptus Titanicus

Legio Tempestus Warlord Titan for Adeptus Titanicus

Legio Tempestus Warlord Titan for Adeptus Titanicus

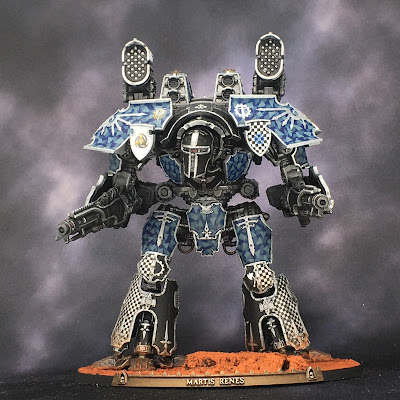
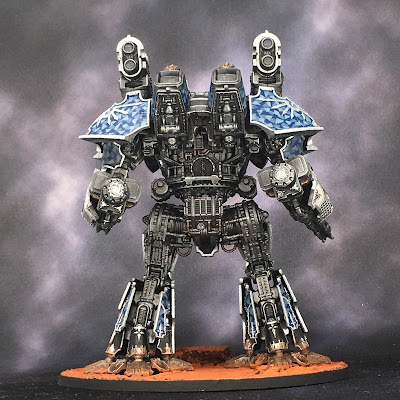
Lots of weapons options for these big boys are waiting to get painted as well.  Everything is magnetized for easy swap outs during games.  Its a bit of extra work, but worth it for the WYSIWYG flexibility.

Thanks so much if you stuck through all the many posts on this project. If you enjoyed the journey then you are in luck.  The mighty Warmaster titan is next, and already on the painting table.  So expect more on that as I begin the painting portion of the project now that the primer is dry.  I'm going to start with a quick look at what I magnetized and how/why. If this isn't your cup of tea, you might want to check back with us in June...

If it helps, the Warmaster titan is an amazing kit for Adeptus Titanicus and sets a new bar for scale and detail. So hopefully the work I share here will be inspirational in its own right, if you are into titanic stompy war machines. Is anyone else annoyed that blogger has an emoticon for poop, but not titantic stompy war machines? Right?! 😁

Cheers and Happy Gaming!


Thursday, April 14, 2022

On the Workbench [April] - a Warmaster Titan for Adeptus Titanicus


Warmaster Titan WIP for Adpetus Titanicus

This month, I've decided to take on the mighty Warmaster Titan for Adeptus Titanicus.  This project follows nipping at the heels of #MonsterMarch6 where I endeavored to complete two Legio Tempestus titans.  More on that below, as I have not forsaken that project by any means!  On the contrary, I have poured more fuel on the fire of my imagination for all things tiny and titanic.

Warmaster Titan WIP for Adpetus Titanicus

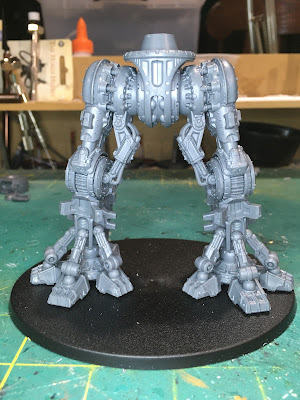
The legs were a build project unto themselves.  At the waist joint they are as tall as a Warlord titan's head.  I have left the armor off for painting as I normally do, and settled for the stock pose.  There is enough to do here that I don't feel the need to work out a custom pose.  My maniples are made up of mostly stationary or slowly striding titans in any case so he'll fit right in.

Warmaster Titan WIP for Adpetus Titanicus

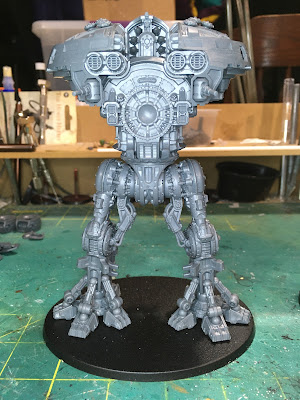
I spent another session building the torso.  More armor is left off, of course, and I have not yet started in on the arms and shoulder weapons.  For the shoulder weapons, I am trying out magnets and will have more in a follow up post on that, once they arrive.  I'm looking at using rectangular magnets, due to the shape of the space allotted them, so I don't know how that will turn out yet.  Regardless, the arms will no doubt be a session each as I work in the magnets that will allow for future (please, GW?) weapon swaps.

Legio Tempestus Titans WIP for Adeptus Titanicus

The #MonsterMarch6 titans have been (mostly) highlighted, final details added, and touch ups (mostly) completed.  They got a solid coat of flat lacquer and can be seen as I left them, drying, last night.  Next I will be applying the weathering powders that bring home the Mars desert feel to the bases and tie the titans to the ground a bit better so they don't simply appear poised above it.  I'll call the project done at that point with one final photo shoot post from the light box to send it off.

I hope you've found some enjoyment and inspiration from these projects.  The GW Adeptus Titanicus titans are full of hobby joy and a real pleasure to work with.  I'll likely continue to turn the crank on these kits until the Horus Heresy release snaps me back to 28mm scale once again,later this year.  I have two Reaver titans and a Warmaster Iconoclast yet to complete from the backlog...

Cheers and Happy Gaming!


Friday, April 8, 2022

Legio Tempestus Warlord and Warbringer WIP - the continuing saga


Legio Tempestus Warbringer Titan WIP for Adeptus Titanicus

Greetings and welcome.  I've continued on with my #MonsterMarch6 project.  My youngest turned eight and there were extra related family activities that kept me off the painting table more than usual.  Progress was made all the same.  The Warbringer Liberatus Mortis got the most attention.  Additional transfers, like the white wings, were added. The name plate was painted and attached, as shown above, and the base got some painting attention.

Legio Tempestus Warbringer Titan WIP for Adeptus Titanicus

The weapons were touched up from earlier airbrushing before trim was added to the armor panels. Then details were added and the whole thing shaded with GW Nuln Oil. Some transfers may yet be added to the gun shields.

Legio Tempestus Warbringer Titan WIP for Adeptus Titanicus

The void shield generators were painted and shaded as well.  Armor panels and the body were shaded, along with the anti-air guns. Everything is ready for highlights at this point.

Legio Tempestus Warbringer Titan WIP for Adeptus Titanicus

The main canon was also cleaned up and trim added before some shading was applied.  I've added a few details, but I expect to dress it up a bit more for visual interest before all is said and done.  In general, the Warbringer is now painted to a level equal to the Warlord.

Legio Tempestus Warlord Titan WIP for Adeptus Titanicus

I added a few decals to the Warlord to dress up the heraldry. No additional paint work was done since #MonsterMarch6 ended.

Legio Tempestus Warlord Titan WIP for Adeptus Titanicus

The gun shields got kill markers and an Adeptus Titanicus icon.  I've continued to paint these engines as loyalists, even though they take the side of traitors in the game.  To my mind, this represents where they were at the time Horus declared traitor and his crusade fleets declared loyalty to his cause.

Legio Tempestus Warlord Titan WIP for Adeptus Titanicus

A Tempestus transfer was added to the rear of each Volcano cannon.  That wonky missile launcher on the left shoulder is driving me nuts.  It just won't sit straight without constant fussing. <sigh>

Legio Tempestus Warlord Titan WIP for Adeptus Titanicus

So that's where I'm at after another (partial) week of work on the project.  I was happy to bring the Warbringer up to the same standard as the Warlord.  I will now crack on with the highlights on both engines.  This will take some time and should occupy most of the next week of work on the project.  At that point, it will be time to seal things up and apply the final weathering powders to the base.

Onward and upward.

Cheers and Happy Gaming!


Friday, April 1, 2022

MonsterMarch6 - Brushes Down!
 

Legio Tempestus Titans WIP for Adeptus Titanicus

I wish it was an April Fools joke, but it is truly time to put the brushes down and declare MonsterMarch6 at an end.  This year I was not able to complete my pledge for the first time.  My sense of self is disappointed, but I am otherwise excited to have two more titans for my collection close to done, regardless.

Legio Tempestus Warlord Titan WIP for Adeptus Titanicus

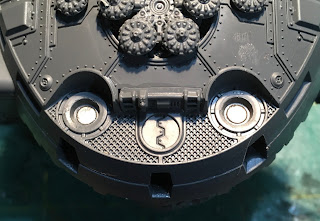
In the final few days, I got to work on the base for the warlord titan, Martis Renes. To complement the existing collection, I went with a simple Mars terrain base with the titan straddling an ancient dry river bed.  An eroded mesa sits at the edge of the river to add some scale and interest to the base.

Legio Tempestus Warlord Titan WIP for Adeptus Titanicus

The orange river is GW Martian Ironearth technical paint which dried with a nice crackling effect like dried mud.  Before applying the Ironearth, I painted on a coat of gloss varnish to assist with the crackling effect.

Legio Tempestus Warlord Titan WIP for Adeptus Titanicus

After everything on the base was good and dry, I laid down the base colors with an airbrush according to the recipe found on the appropriate tab above.  Next came the washes/shading.  When that had dried, I glued on the nameplate which was already painted.  Lat, I painted the base rim black and glued down the titan.

Legio Tempestus Warlord Titan WIP for Adeptus Titanicus

I was able to complete the trim, details, and shading on the volcano cannon arms. I'm really liking the new(ish) Tempestus transfers on the shoulders.

Legio Tempestus Warlord Titan WIP for Adeptus Titanicus

A first look at the rear, since I've only ever shown the titan from the front.

Legio Tempestus Warlord Titan WIP for Adeptus Titanicus

The gun shields will get some additional transfers before I'm done, to indicate significant kills and other heraldry. I'm still noodling on what I want here.

Legio Tempestus Warlord Titan WIP for Adeptus Titanicus

The Warbringer's base had already been built so it just needed painting. While I was focused on the Warlord in the final days, I still painted up the Warbringer's base for efficiency as I had the colors in the airbrush anyway.

Legio Tempestus Warbringer Titan WIP for Adeptus Titanicus

I'll com back and cleanup then detail the building before I seal both bases and apply the Mars dust weathering powders.

Legio Tempestus Warbringer Titan WIP for Adeptus Titanicus

No additional work got done on the Warbringer weapons; trim, details, and shading pending. Nice profile though, eh? The Omnissiah alone knows why these beasts don't fall flat on their backs when that cannon fires...

Legio Tempestus Warbringer Titan WIP for Adeptus Titanicus

Only loyal allies see the rear of these proud engines.  The enemy sees only armor and guns before then end comes.

Legio Tempestus Warbringer Titan WIP for Adeptus Titanicus

Here too, there will be additional transfers to dress things up and add kill markings, etc.

Legio Tempestus Warbringer Titan WIP for Adeptus Titanicus

And that's where my MonsterMarch6 journey ended at 11:45pm 03/31/2022.  I have two table ready titans that will soon be in the DONE column.  I expect to spend another week or two finishing these engines before I likely move on to some new Grim Dark Terrain pieces I picked up to add variety to my future games.  More on that later.

More congratulations to all of the MonsterMarch6 challengers.  There's some very cool projects out there. Be sure to check out Path of and Outcast if you want to check them out. Special thanks to Swordmaster for hosting again this year and providing a space to share our work.

 I'm already looking forward to next year's challenge.

Cheers and Happy Gaming!