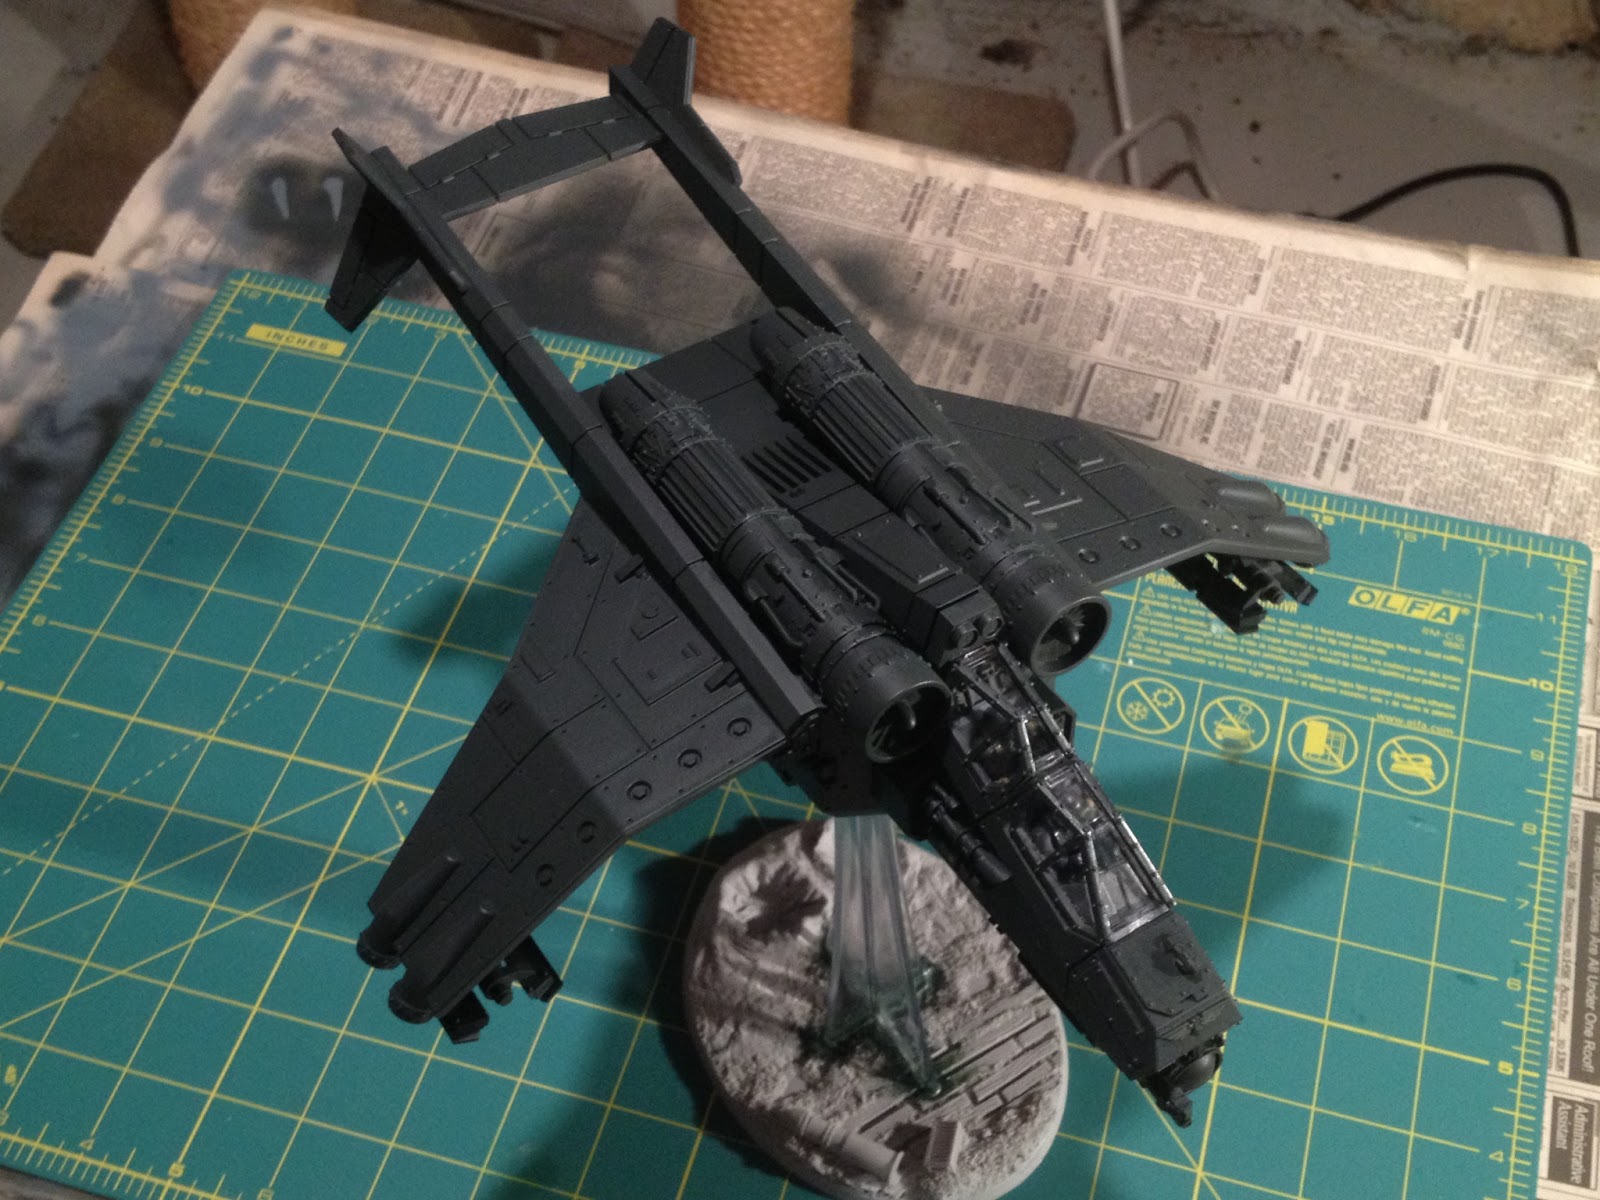
I wanted to get the cockpit and crew painted, as well as the troop compartment interior. I'm still working on the waist gunners, but they are ~75% complete as well. This model uses the Forgeworld Vendetta parts, however, the wing mounted lascannon's aren't attached yet to make things easier to paint correctly. I was going to do a whole magnet project so I could convert between the Valkyrie and the Vendetta. In the end I felt I would only field the stock Vendetta in the lists I've been looking at. So I stuck with a hard build of that version. Here's a WIP shot of the assembled and based vendetta. This is a gorgeous model!
Next is a front shot without the canopy to show the crew detail. This is not a great pic for that, I admit! I'm using a Vallejo black gray for the base. I haven't decided on whether or not to add urban camouflage to match the rest of the army's armor. Since this gunship would come from the Imperial Navy, I'm leaning on the different, cleaner look to distinguish it from the rest of the ground pounders. In its roll as anti-air, it would not make use of camouflage in the same manner that a Valkyrie would either. While the Vendetta still carries troops, I'm choosing it to shoot down enemy fliers, and then skimmers and tanks when it doesn't have fliers to hunt. So it will be more flavorful to have a sleek black angel of death look, I think. :) I do plan on using the imperial eagle wing decals!
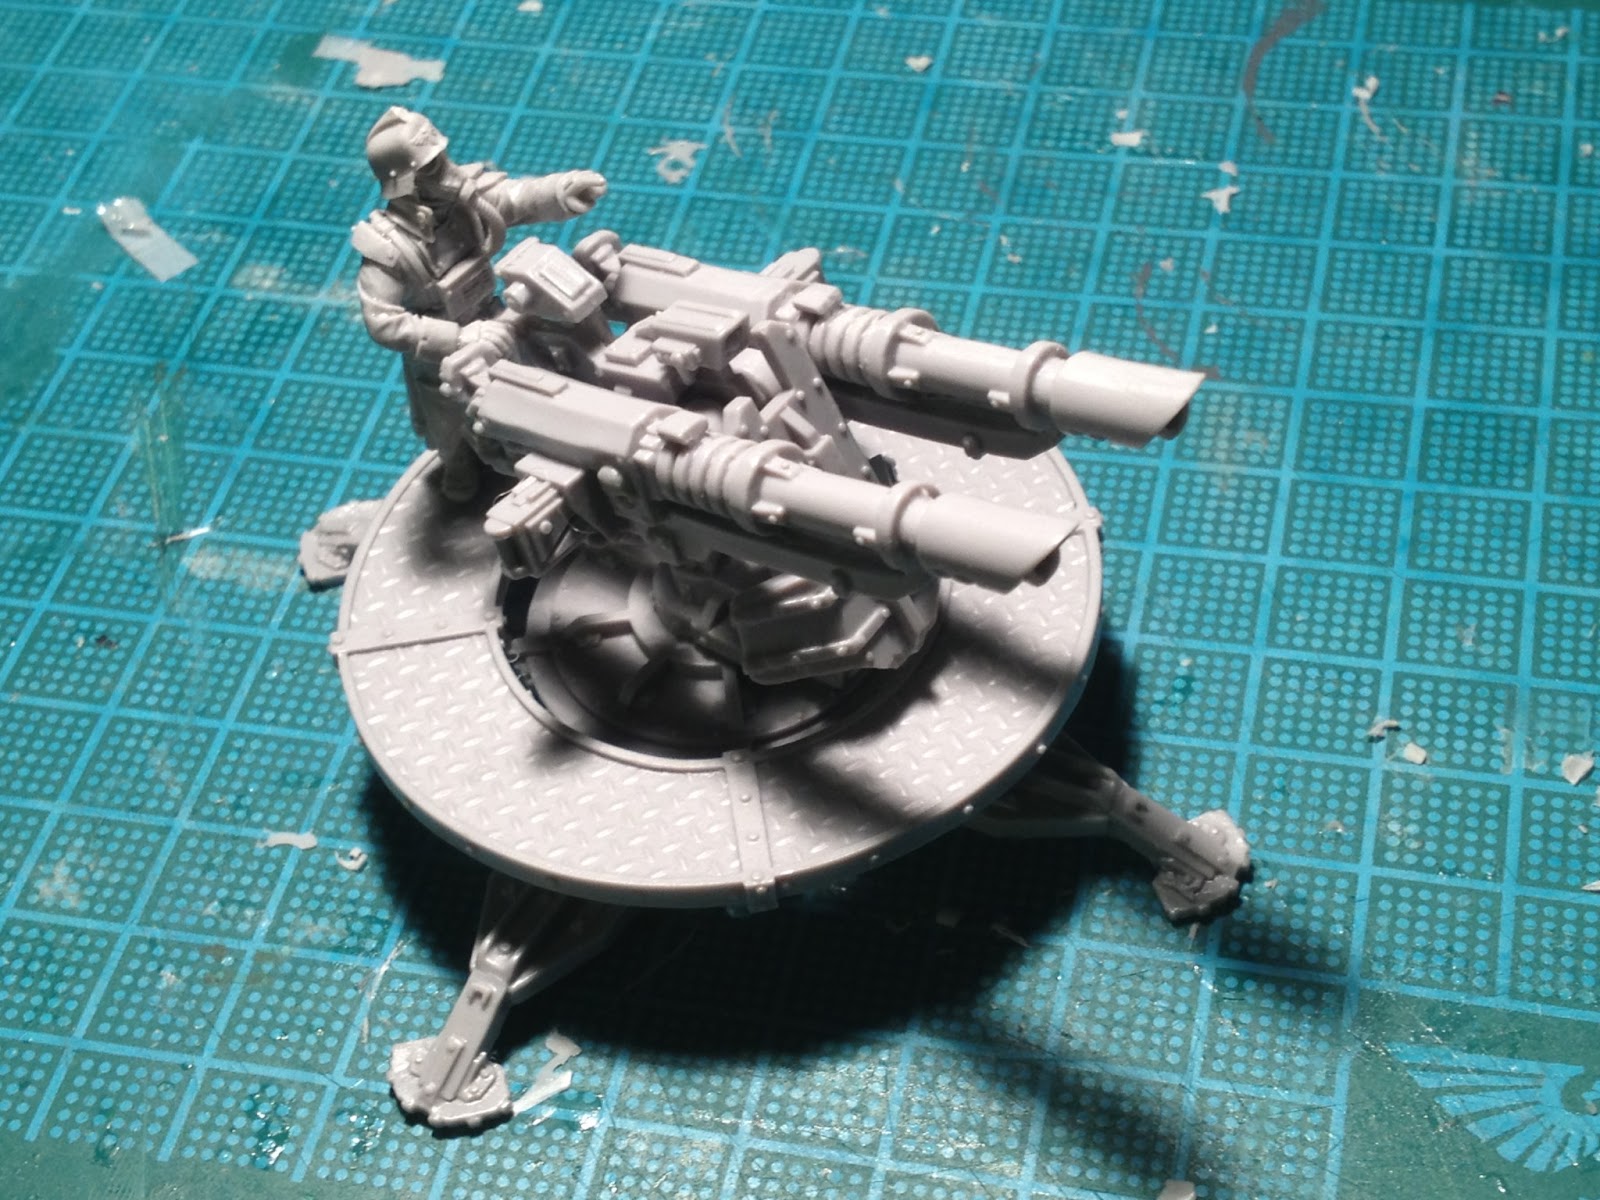
Next up is some fire support I put together last night for another change of pace. The first is a Rapier Laser Destroyer from Forgeworld. This will see action against heavily armored foes, such as the Necrons. The twin-linked, ordinance(1) laser destroyer will go a long way towards stopping monoliths and the other nasty Necron armor! This army has average ballistic skill, so twin-linked is a must for these key hunter units! The ordinance rule will improve the weapon's chances of penetration.
I'll likely deploy this with a platoon behind an aegis line for good cover where it can make use of it's relatively long range. I had a good time scratch building the operator from my spare parts. The model only comes with a Cadian operator, which would not fit in at all with my Death Korps! This operator was built from an artillery crewman. The right hand was replaced with the Cadian operator's hand. I'll add a plate to the back of the hand with green stuff before painting to match the standard Krieg glove. The left arm is a pointing arm with the hand replaced by a shell loaders hand.The new hand was oriented and shaped in hot water to to grasp the hand rail for support.
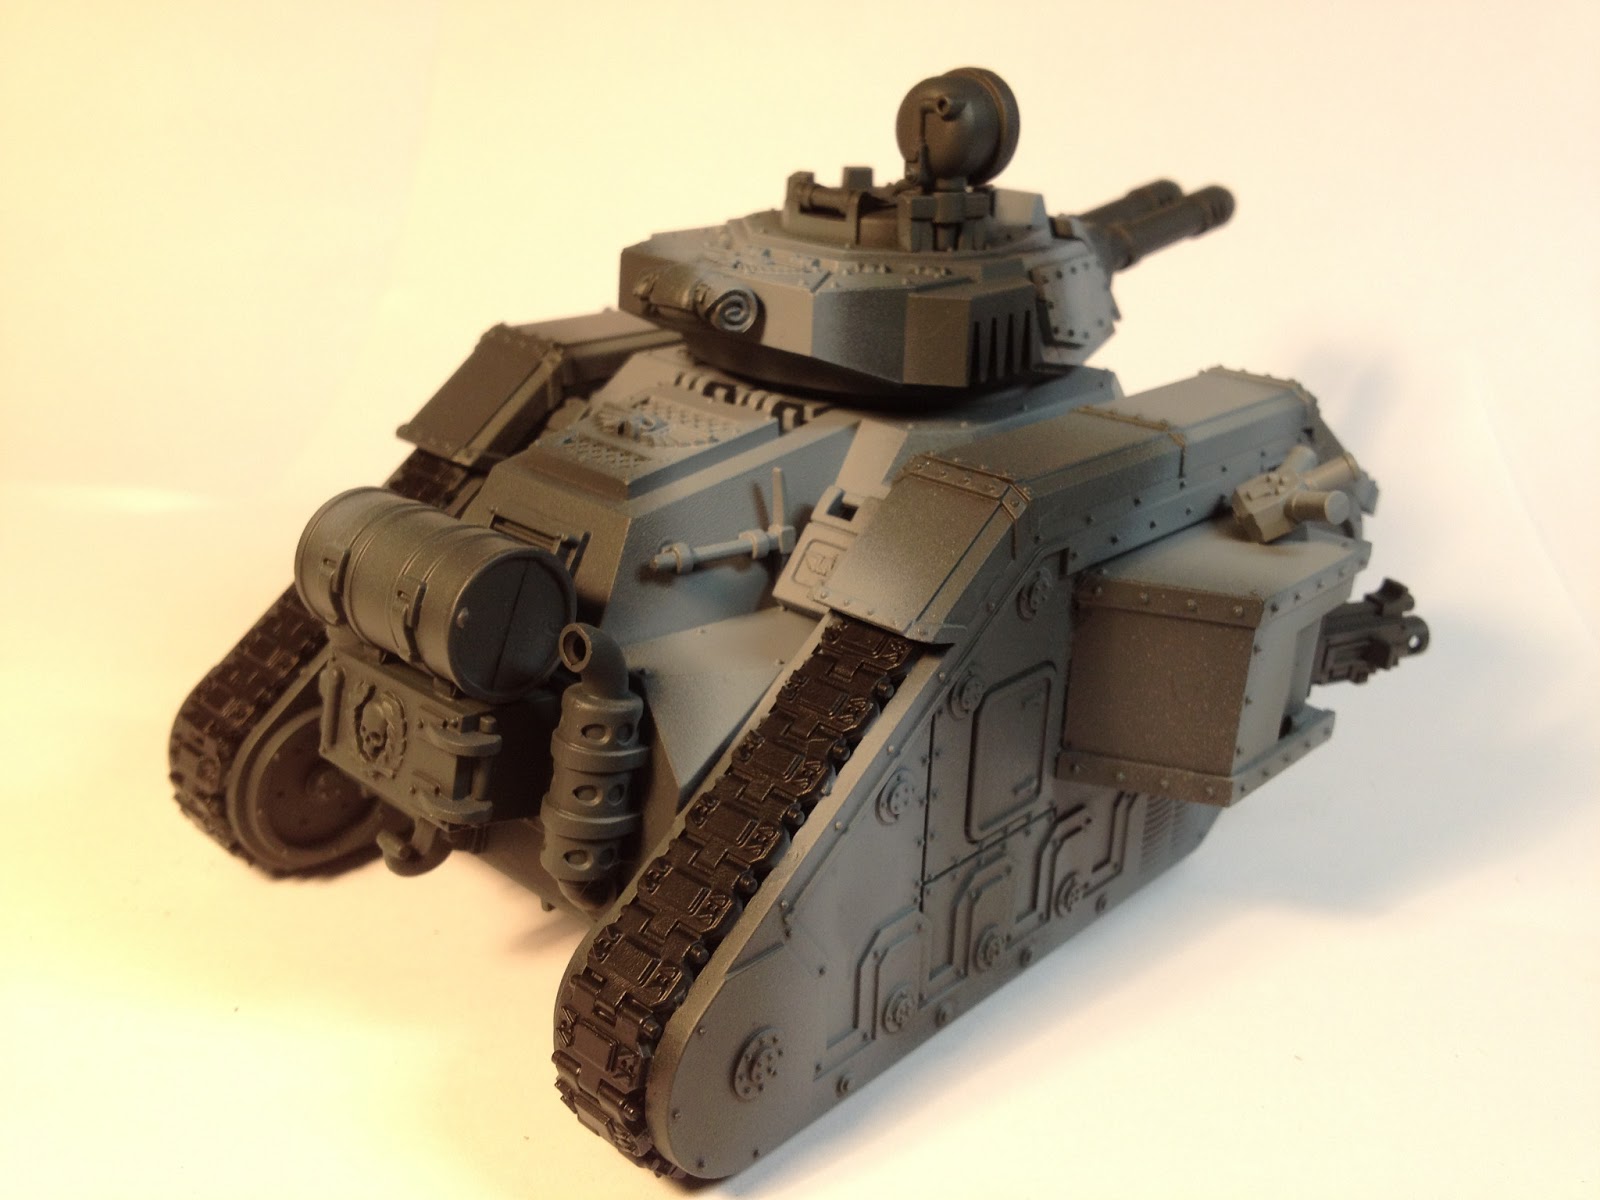
And last is a Saber Defense Platforms I'm adding to the force. With 6th edition, these now have sky fire and interceptor and will be a key piece of kit for defending against skimmers, and deep striking fliers. I have found that the Necron flier does a heck of a lot of damage to my gun lines on the turn it arrives, so I need some sky fire/interceptor units, STAT! And with all the Tau and Necron skimmers out there, the sky fire will not go amiss, either. These can be chosen instead of a platoon heavy weapons team. They aren't very survivable, but deploying them behind an aegis line or other good cover with a decent field of fire should allow them to get their points back. Here again I scratch built a DKoK trooper as a gunner to replace the provided Cadian gunner. I'll add a second platform to fill out the squad.
With DKoK, you can't go wrong getting a hold of a bunch of the available artillery crew kits. I regularly watch EBay and pick up these guys when I see good deals. I have used the arms and bodies for may models. You can get a lot of different poses by cutting and turning a hand, swapping hands, reshaping the arms with hot water, etc.. On this gunner, the right hand was cut off, and then pinned back on at a new angle to allow the model to grasp the firing handle while he points out some kill, or new threat.
In other news, I recently picked up a new Badger 105 Patriot double-action, gravity feed air brush. My old brush was also a Badger, but it was siphon feed. Even with the optional siphon cup, making it easier to add paint, it was sort of a pain. The cup was under-slung in place of the bottle, and it was difficult to paint without tipping paint out. It also hung at an awkward angle off-to-the-side that sometimes got in the way. The new one has a cap for stopping spills, and being top fed is much easier to use and clean. I also picked up quick disconnect connectors to make it a breeze to switch between brushes, and to remove a brush quickly for cleaning. No more threading and un-threading the connectors. I have really got into air brushing for all the Imperial Guard armor I have acquired!
Well that's it for now. Happy gaming!


