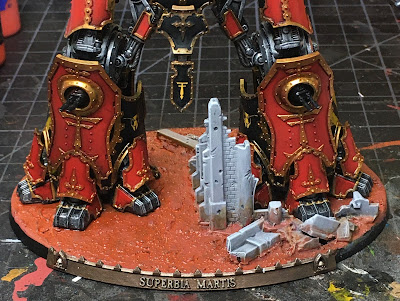
Here it stands, fully assembled and on it's new base. Nothing too fancy, just a little something more than I put on the bases of the smaller titans to make this one stand out a bit as the largest (so far?) in the battle group.
I used a few plastic bits from an old OOP sprue of Titanicus terrain from the original game which I had picked up on eBay some time back. This isn't the original card stock terrain - and maybe it's from some epic set, to be fair. But it is standard plastic terrain of administratum style buildings. It's going to sit a bit odd on my Mars theme bases (something Mechanicum would have fit better), but whatever. This big guy needed something fun to stomp by way of telling a story about it's size and presence in war.
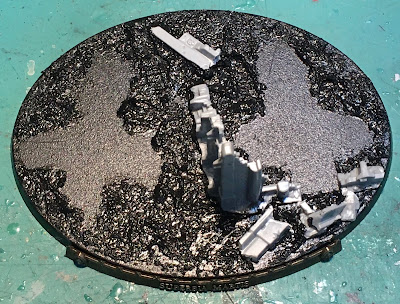
Vallejo Black Lava was used for the ground cover. As standard for my bases, I apply the ground work around a model's feet so the model won't appear to float over or gently rest on the terrain when glued down. Whether trooper or titan, I prefer to have an element of weight to the composition.
Here's a better angle showing off the style of these plastic ruins. Once this had all dried, I set about the typical paint recipe, as documented on the appropriate recipe tab above. The building was a new addition to the scheme, so that isn't documented yet.
The ruin is painted in a basic light gray from Pro-Acryl then washed first with Nuln oil, then just at the base with Agrax Earthshade. The rubble was made by cutting up one of the ruin pieces somewhat strategically to form (hopefully) believable chunks of the original building, busted up by the giant STOMP. More likely, the beast sorta dragged his foot into it...it's not a tap dancing Knight Gallant after all!
I'm happy enough with the results, even if they won't be winning any awards. Once the weathering powders are laid on (my final step) I think things will look pretty cool.
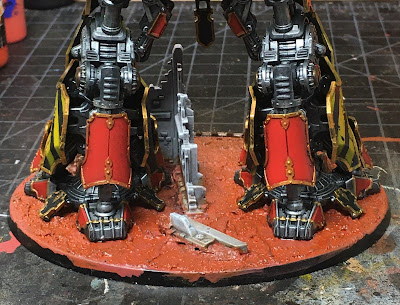
Here's how things look from the rear. I may put some more nuln oil, or something else dark on the inside walls to get a sorta pre-stomped, burned out look. We'll see. The pic above was taken out of order with the rest, so you get a look at the messy base before I cleaned up the rim to tidy things.
And now we're back to how things actually look now. Not much else was accomplished on the main titan, that shows off anyway. I painted in the laser range finders on the weapons, and started some highlights on the front of the main torso. Oh, and prettied up the missiles which had become drab with wash during earlier phases. You can see all that in the main title shot, but really it doesn't stand out much from earlier photos.
Now that the torso is glued to the legs, and the legs are glued to the base, I'm in the home stretch...which realistically means another week or two of detail painting and highlighting before I'm done. I like to have everything fully assembled before I look at highlights so I can see where the natural shadows exist on the model. This prevents me from highlighting surfaces that are actually in shadow once the model is viewed in its final assembly.
That's it for now - sure, I'd be further ahead if I didn't waste a session or two a week on building Horus Heresy Dark Angels. But I'm OK with that. No competition or challenge going on with this project, nor any impending battle to field it in, so I have some freedom to putter a way a bit.
I hope your projects have been going well - or at least that your summer has been full o' fun!
Cheers and Happy Gaming!


No comments:
Post a Comment