Thursday, November 18, 2021

Aeronautica Imperialis WIP - Wings of Vengeance Planes Part II


Aeronautica Imperialis Wings of Vengeance Imperial Navy WIP

And the planes continue on a piece!  Close to calling it quits on these four so I can move on to the Ork planes.  I didn't have enough to show earlier in the week to make it worth two posts this week.  I need to step up the painting or mix in some other projects to keep the hobby content flowing.

Aeronautica Imperialis Thunderbolt Fighter WIP

Over the weekend I got the shading and dry brushing done.  But this obliterated much of the metal details, so I then had to touch up those areas. So by Tuesday, I had only the cleaned up dry brushing to show off.  Not much content there.

Aeronautica Imperialis Thunderbolt Fighter WIP

With the remainder of the week so far, I got the all the glass done.  It's a bit more light blue than the pictures show.  Still maybe lighter than I needed.  I'm contemplating a second shade coat...maybe thinned to avoid going over board.  We'll see.  Then I put a little color on the rockets/missiles.  This is mostly done as a game aide so it's clear at a glance what each plane is carrying, once there are more in the squadron to look at all together.

This picture illustrates what happens when I go back in with additional blue shade - in this case to correct a mistake during cleanup.  See the more intense shading on the right side Marauder compared to the one on the left. I put some black on the lascanon barrels, for interest.

I haven't decided what to do with the bombs (if anything).  They are intentionally painted the same lighter color as the underside to avoid breaking up the "sky camouflage" effect when viewed from the ground.  But then, there is the obnoxious red rockets so...?  Yeah, we'll see.

So a bit more cleanup and some little bits of detailing and I'll call these guys done and move one.  Until then watch your six!

Aeronautica Imperialis Thunderbolt Fighter WIP

 Stay safe out there.

Cheers and Happy Gaming!


Thursday, November 11, 2021

Aeronautica Imperialis WIP - Wings of Vengeance Planes


Aeronautica Imperialis Imperial Navy WIP

 Greetings and welcome to our first Aeronautica Imperialis project here at 262Krieg.  I decided to start at the beginning with the original Wings of Vengeance boxed set, rather than just starting to paint random planes.  There so much to choose from and I've faithfully collected all of them, except that rather expensive giant Ork bomber from Forge World for...yikes.  Anyway...back to painting.

Aeronautica Imperialis Ork Air Waaagh! planes WIP

Not much to show for the Ork planes yet.  They got a black primer coat followed by a red base coat.  I followed some advice I saw on a GW YouTube video and built a handful of "painting bases" using extra flight stands and a bunch of left over 40mm bases I had in the bits box. Saves on masking the actual gaming bases.  These work bases can be reused form project to project too.  Also, when spraying the models the stands prevent paint from getting into the socket for the flight stands, which keeps the fit good and prevents the socket getting gummed up.  I don't plan to glue my stands to the planes ever.

Aeronautica Imperialis Imperial Navy WIP

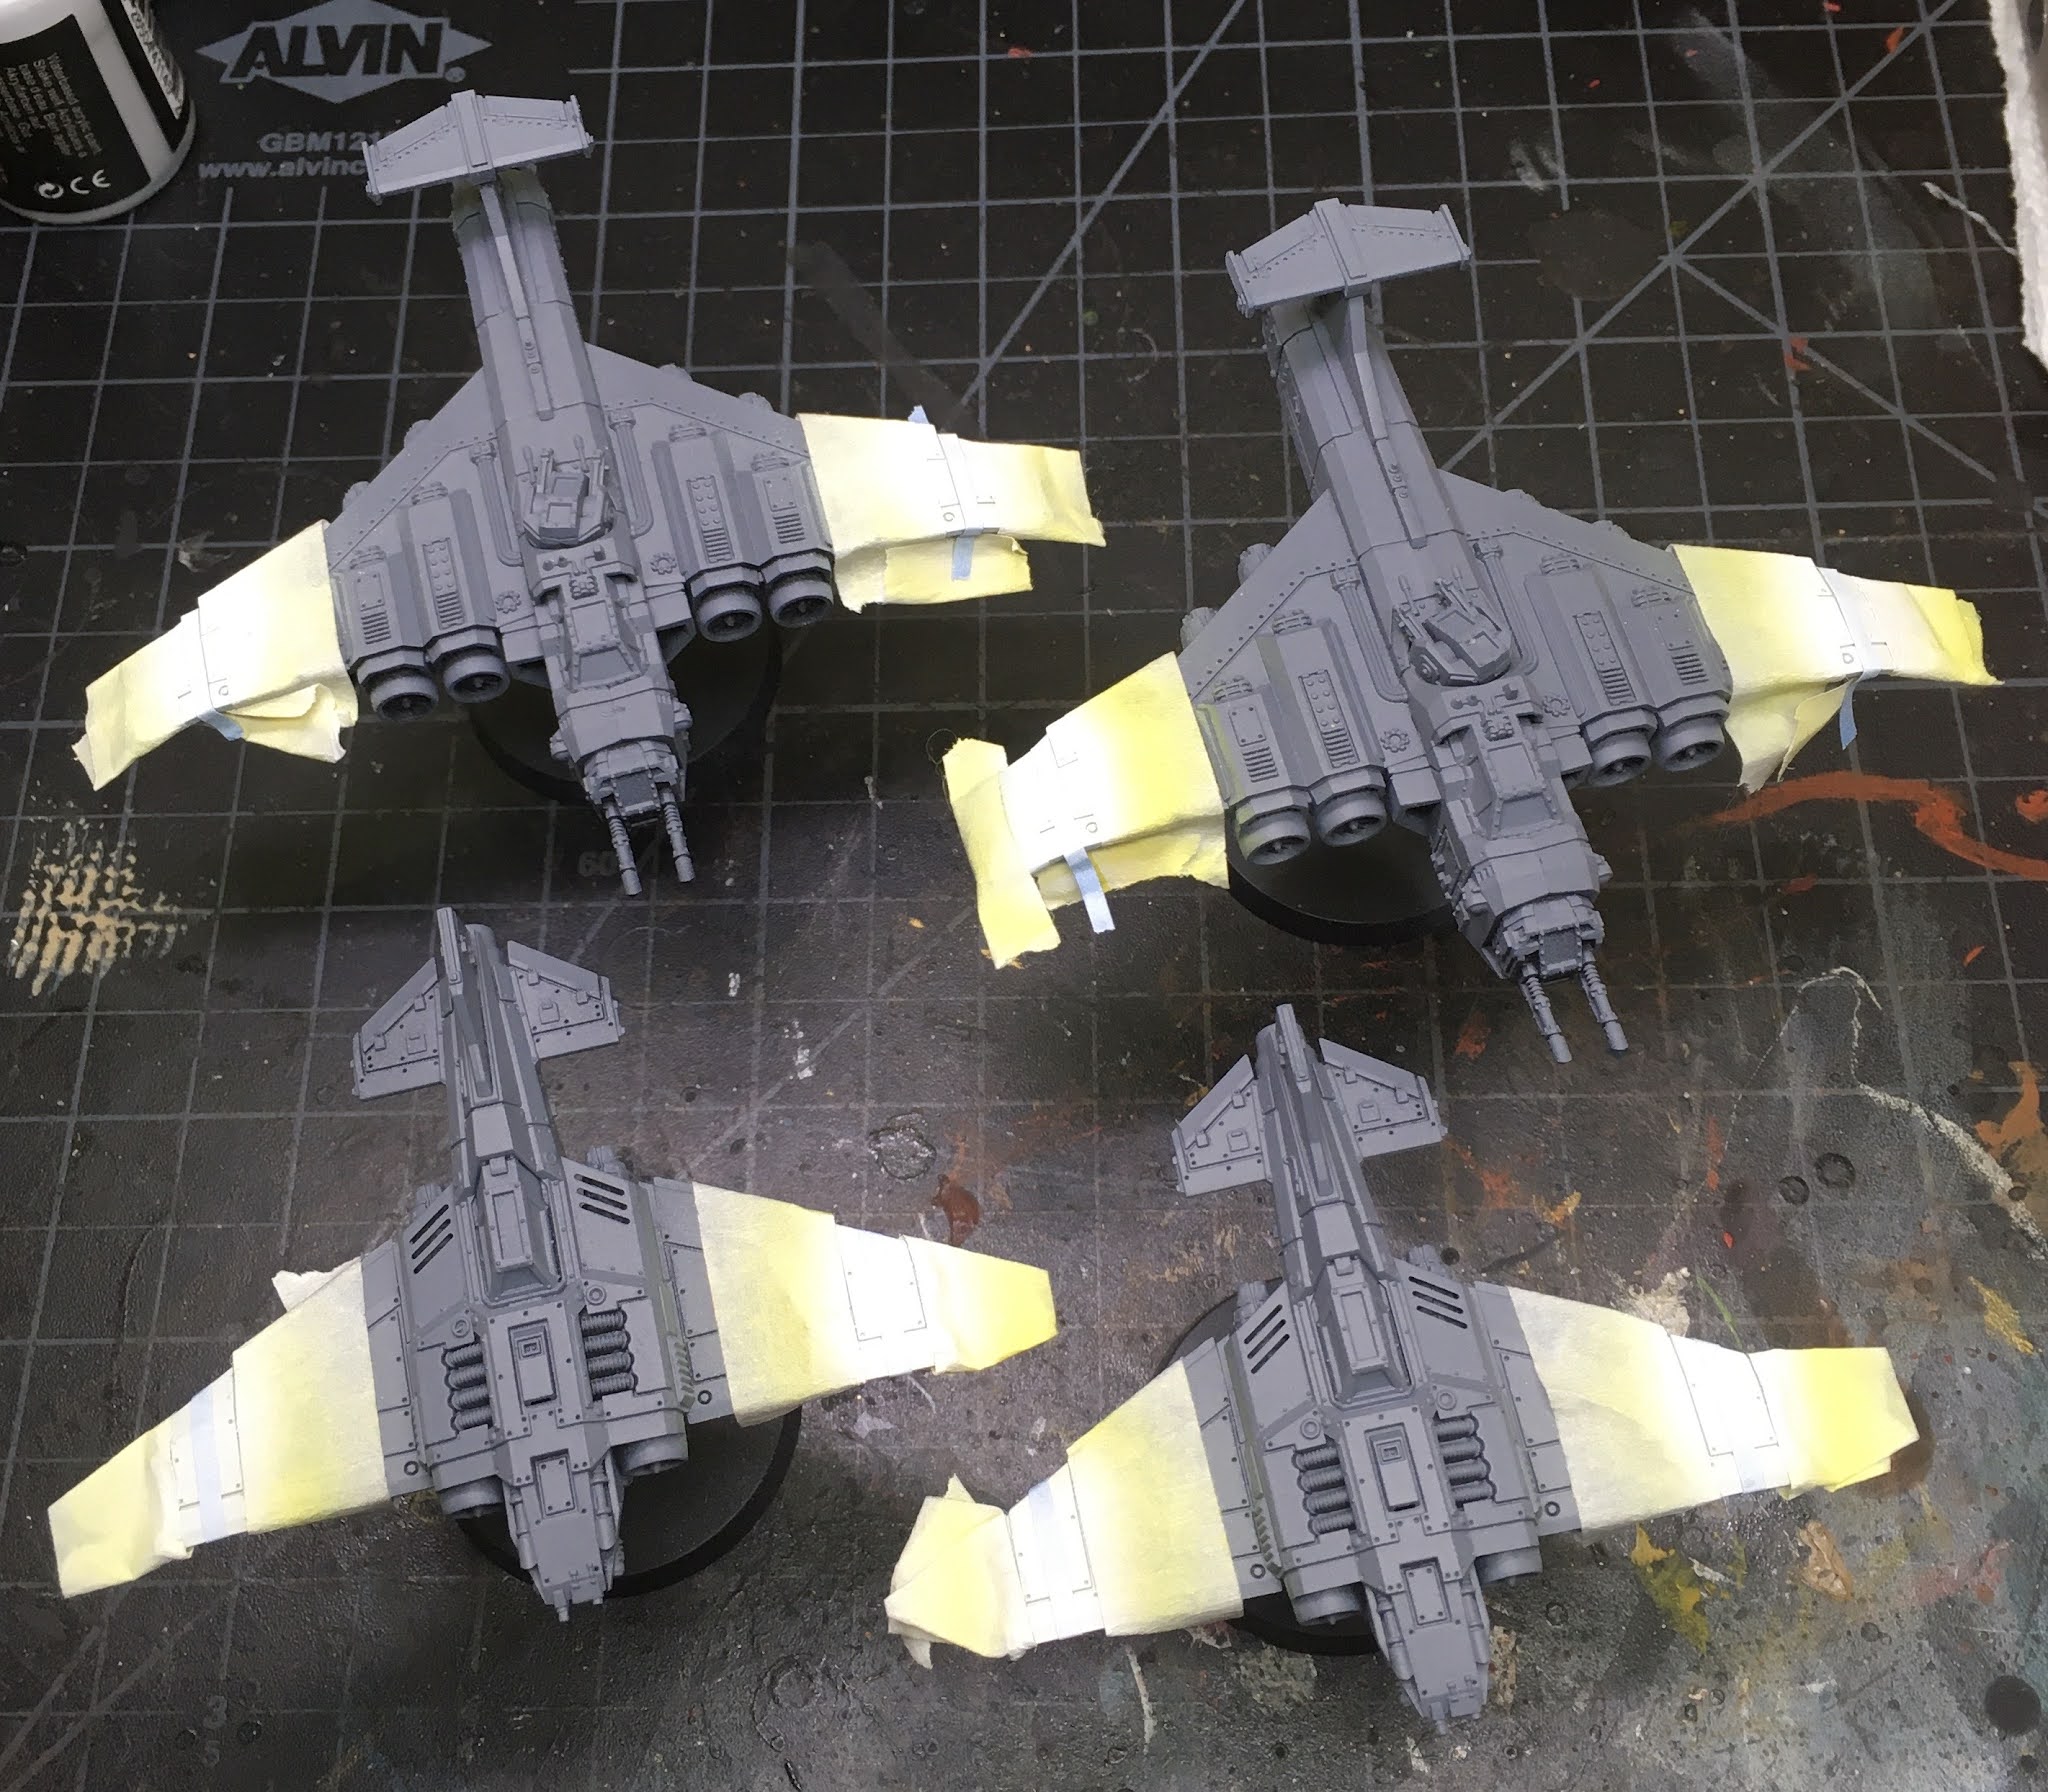
For the imperial planes, I decided on some wing stripes to mark the squadron.  I started with a thick yellow stripe, which was painted on with an airbrush after masking the area off with painters tape.  I picked up a variety set of thin rolls back along which is helpful for this.  In this case, I first put a strip down on the wings the width I wanted the stripe to be.  Then I masked to either side of it before finally pulling it up to reveal the area I wanted paint on.  This allowed me to keep a straight uniform width across all the planes.

Aeronautica Imperialis Imperial Navy WIP

When the yellow was good and dry, I put a thinner strip of masking tape down the center.  Then I sprayed white over all the remaining visible yellow.  The final effect would be a yellow stripe down the middle of the white stripe.

Aeronautica Imperialis Imperial Navy WIP

Once everything was dry I carefully removed all the masking tape and voila! Not too shabby.  Almost no spray under the masking tape, which was a big win.  But I did manage some over-spray to the fuselage of each plane.  I carefully went back in with the air brush and painted more gray over that.  On future planes I'll mask more of the plane to prevent that.  or I'll just be more care full in the first place. :) 

As shown in the title pic at the top, I followed up with yellow on the tails to complete the squadron markings.  I haven't decided what to do with Ace's, but I'll likely use the eagle wing transfers where appropriate and some other interesting marking where those won't work. For now, these pilots are rank and file.  I was able to get some of the bare metal painted on the bombers.  Once that's complete on all four I'll start in with the shading.  At some point,  I have to get back to the Orks too.  I'm still thinking on what I want to do there.  Some freehand flames sound fun on a couple planes, at least.

So far these have been a dream to work on.  I love how the Navy planes are coming along and can't wait to put them in the done column. I will have more to show next week.

Stay safe out there.

Cheers and Happy Gaming!


Tuesday, November 9, 2021

On The Workbench [November] - Killzone Octarius


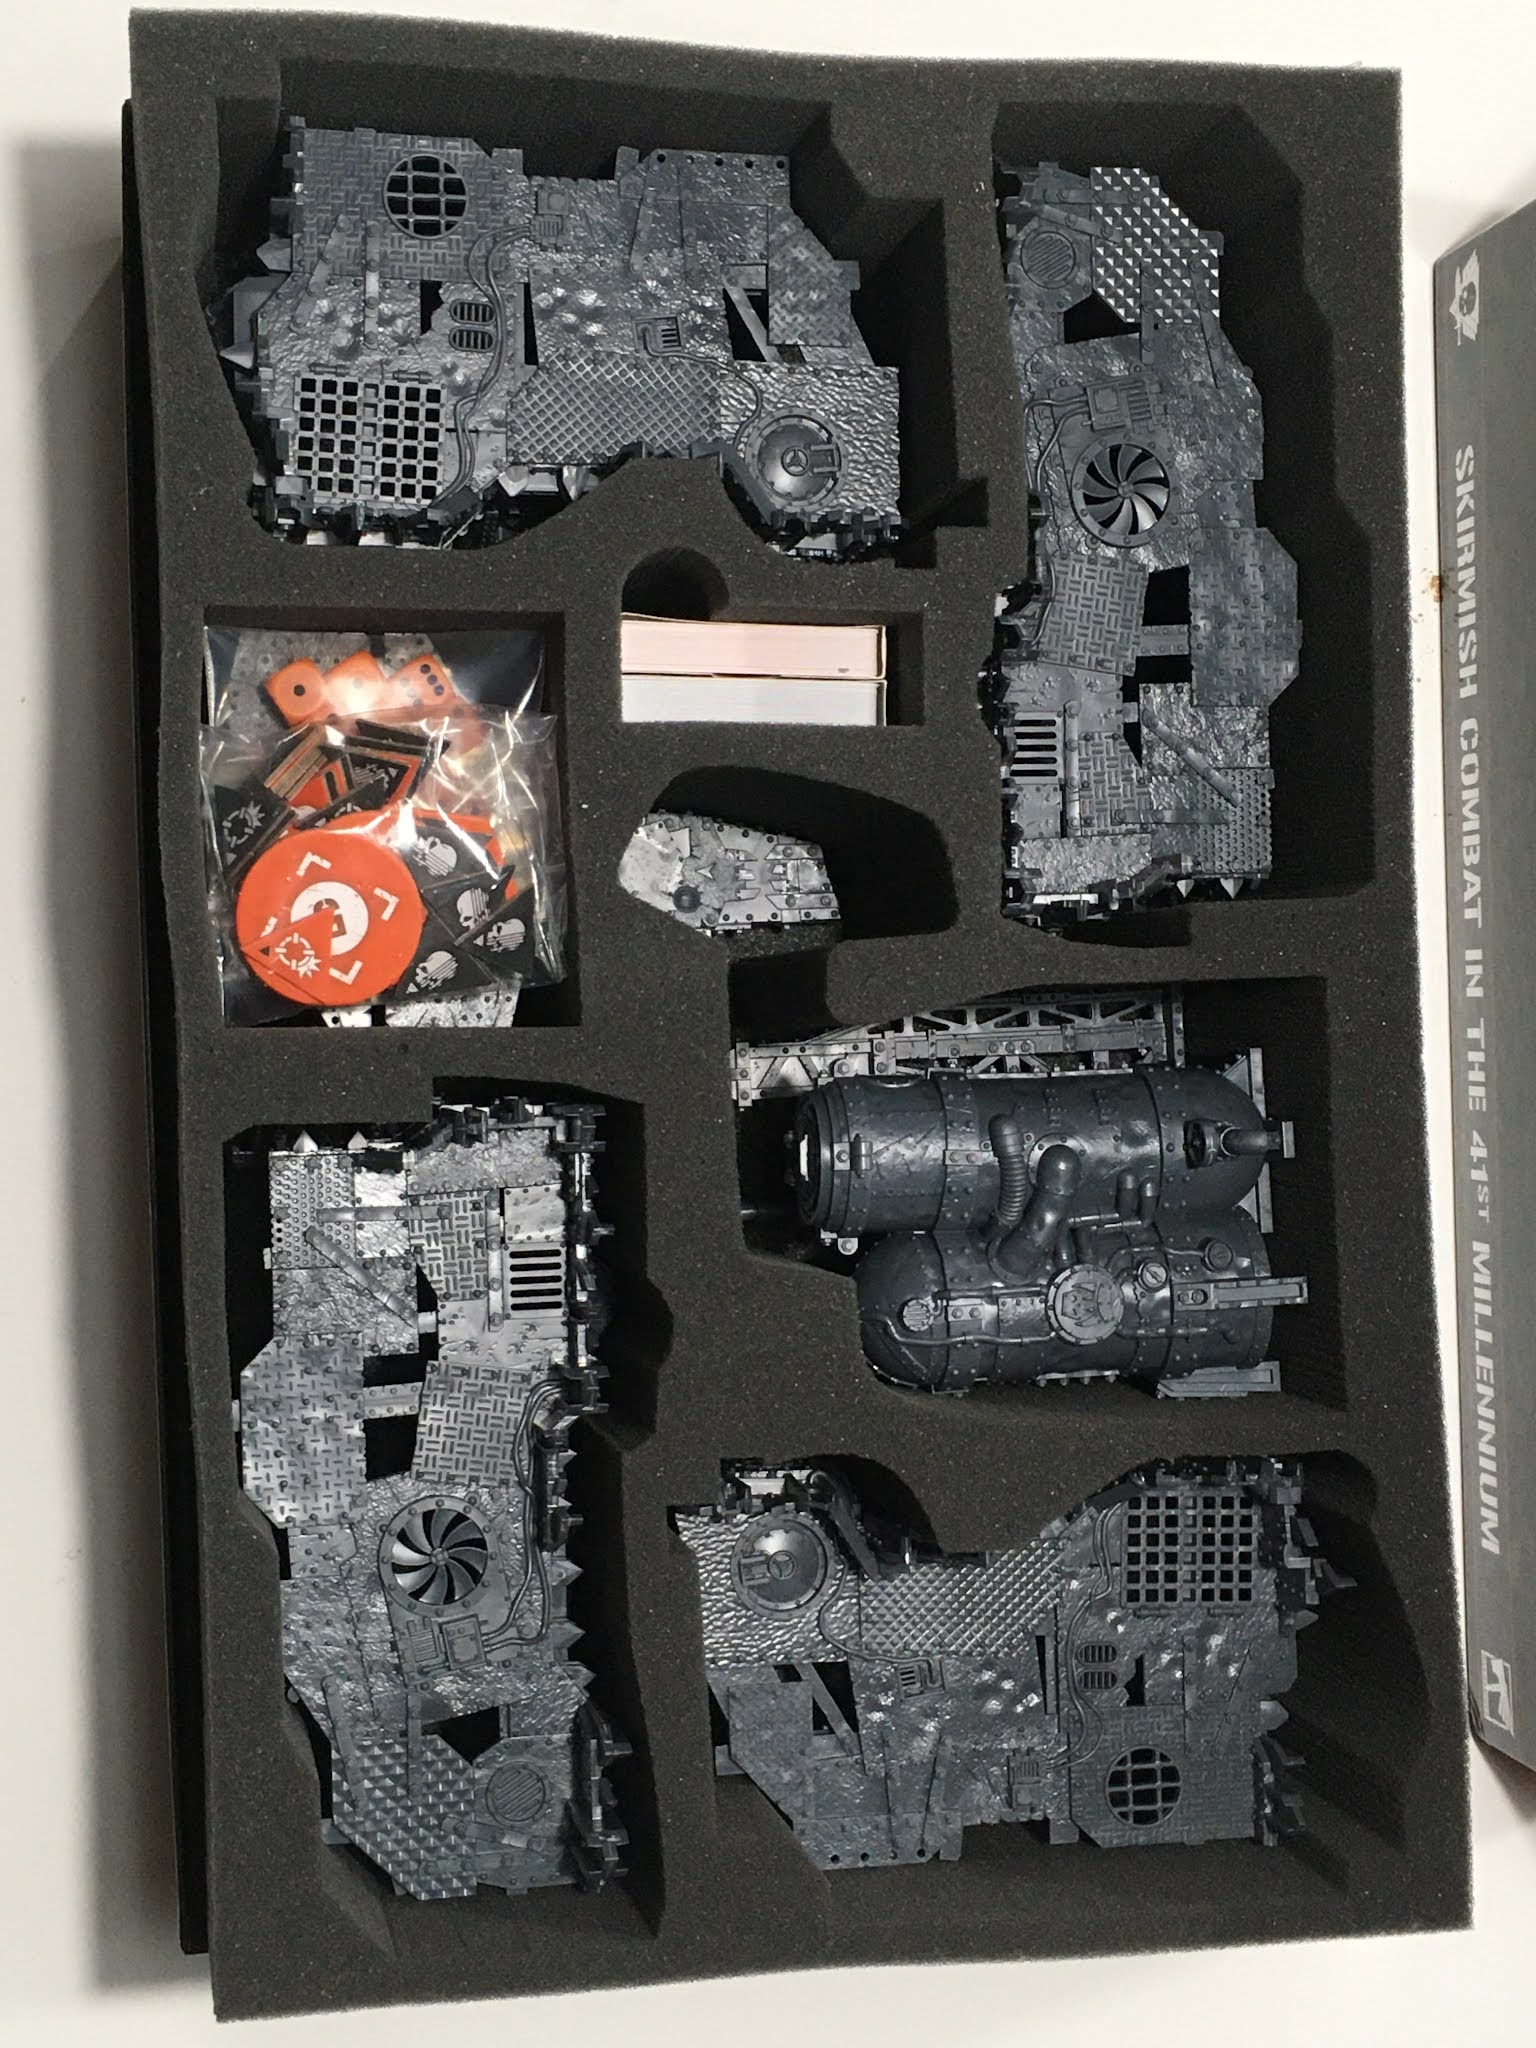
Greetings!  After a bit of a break following DreadTober, we're back it it here on 262Krieg.  I decided it was time to assemble the miniatures from Kill Team: Octarius and try out the new Battlefoam Octarius box inserts.  As you can see from the title pic, this foam raises the cover a good 2 inches, due to the size of terrain.  But the box remains secure and it's great having everything packed away safe and sound.

The terrain fits primarily standing up, except for the oil derrick, which lays on its side. The folks at Battlefoam cut everything perfect to size, so everything fits snug, but accessible.

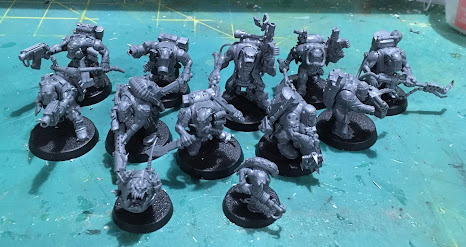
The second, thinner tray holds the Kill Teams and the rest of the thinner terrain.  The detail on the models is very good and I'm looking forward to putting paint on everything at some point.  Here's a better look at the assembled models.
Ork Kommandos WIP 

While assembling the orks, I waffled emotionally from feeling they were the worst GW models I've worked with to feeling they were quite cleverly done.  The sculpts are amazing with all the fine detail and sharp edges one would expect from a GW product these days.  The parts are ALL OVER THE PLACE on three sprues, however.  Seriously.  There is almost no rhyme or reason to their placement and one can expect to spend a good deal of time hunting down each part.

Ork Kommandos WIP

Then they are almost too cleverly designed from an assembly point of view.  It was not always clear how to orient various arms in the shoulders, and a few other parts took some fiddling with before it became clear how they fit together.  That said, once past the annoyances, they go together well and look great as I hope my quick snaps illustrate faithfully.

Ork Kommandos WIP

One challenge is there are several options when assembling the boyz. Without playing the game, I had to make some choices on what team members I would have. Should I ever get a chance to play the game, I hope I won't be disappointed in my choices.

Ork Kommandos WIP

Moving on to the Veteran Guardsmen, these models were the polar opposite to the orks, in terms of assembly shenanigans.  The guardsmen parts are sanely and intuitively laid out and fit together clearly and quite well.  I foresee another group of these getting built at some point. Here again, I had to make some tough choices on which team members to build.

 
I have a soft spot for Krieg guardsmen so these guys will definitely get some love with the paintbrush.  I predict a Squaduary 2022 project in the making.

Death Korps of Krieg Veteran Guardsmen WIP

Lots of fine character and detail in these models.  Very guard, very Krieg. GW provides all sorts of equipment extras to load these guys up with too, which was fun.  Probably a painting nightmare though. :)

Death Korps of Krieg Veteran Guardsmen WIP

Fun to see some flavor with the bionic on this veteran. I had to go with a sniper and spotter. I'm sure both will end up tossed against a wall by any number of lumbering Ork Kommandos.  But they'll look sharp as they fly through the air.

Death Korps of Krieg Veteran Guardsmen WIP

The idea of a guardsmen bruiser is pretty funny in a box with Orks.  I'm pretty sure he'll be the one ending up with bruises, but we'll have to see. Maybe he'll get to pick on some Tau at some point.

Death Korps of Krieg Veteran Guardsmen WIP

So that's the Octarious Kill Team box.  I recommend the Battlefoam inserts if you have the room (height) for the box.  You can purchase the trays separately if you only want to store the kill teams in the box.  I debated that before going ahead and getting both trays.

I'm not sure how long these models will languish (er, ripen? eww) before I decide to put paint on them.  I'm looking forward to it, but I am also looking forward to getting some Aeronatica Imperialis planes done...and I have titans in the queue...and more marines...so. many. marines. So we'll just have to see how the hobby season goes.

Stop back again soon to see what's next.  My money is on Aeronautica Imperialis planes - likely starting with the models from the first set.

Stay safe.

Cheers and Happy Gaming!


Friday, October 29, 2021

DreadTober Week 4 Progress - TO DONE


Legio Custodes Telemon Heavy Dreadnought

DreadTober 2021 is coming to a close and I have completed my project under time and over budget as usual (hey, its GW, right?  This stuff is expensive...). Here's how things turned out.

Legio Custodes Telemon Heavy Dreadnought

The Dread is now ready to rumble.  But backing up a bit, here's how the final week went.  I had a base ready to go, but it had no paint on it. So I stuck down some Vallejo Black Lava to give some natural texture and hide the inherent 'corkiness'.

Legio Custodes Telemon Heavy Dreadnought WIP

Once the Vallejo Black Lava had dried, I sprayed the whole thing with the base color (See paint recipe tab above for specifics) and let that dry thoroughly.

Legio Custodes Telemon Heavy Dreadnought WIP

Next, I liberally basted on the washes.  I like to mix some green in with the brown to get a more realistic earthy look.  The battle fields of Warhammer 40K are blasted, but life clings in places.  The green is dabbed on in splotches, particularly around rocks and things where life might cling.

Legio Custodes Telemon Heavy Dreadnought WIP

With that dry (and the washes take some patience there!), it was time to dry brush all the raised bits.  For a base, I like to highlight the edges of things more than the middle.  And in this case, I was light-handed with the dry brushing under the Dreadnought where things would be in the shadow of its bulk.

Legio Custodes Telemon Heavy Dreadnought WIP

After the dry brushing, I painted in the individuals details, like skulls and stonework.  For contrast, I decided the stonework was the remains of something light colored and now reduced to rubble.  Pin washes were used to shade recesses of the stone work with greens and browns in addition to using GW Nuln Oil.

Legio Custodes Telemon Heavy Dreadnought WIP

A trifle out of focus, unfortunately, but this angle shows the details better. Note that towards the ground, the stone work is "dirtier", blending it into the base, while the higher portions are likely sand blasted by the winds of war. With the base complete, pins were inserted in the Dread's feet and the model was glued down to the base using 2-part 5-minute epoxy. More pics of the final model appear after the break.  Here's a big ol' hobby season stamp of DONE for the completion, courtesy of 40kaddict. 


I have enjoyed the challenge this year.  I hope you have enjoyed watching the progress.  Perhaps you even picked up some inspiration along the way for your own projects.  I'll close here with a pick from six (?!) years of Dreadtober.  Don't forget to check out the rest after the break.


DreadTober

Happy DreadTober!

Stay safe out there.

Cheers and Happy Gaming!

Friday, October 22, 2021

DreadTober 2021 Week 3 Progress


Adeptus Custodes Telemon Heavy Dreadnought WIP

Greetings and welcome to week three of DreadTober 2021. My project is drawing to a close.  This week, I worked on the weapon options primarily.  Some decals were applied, and then I began some preliminary base construction.

Adeptus Custodes Telemon Heavy Dreadnought Weapons WIP

The weapons look great with a full coat of paint.  So far, I'm choosing to keep them simple in a two color scheme that matches the main body (gold armor/accents over a dark meta internal structure.

Adeptus Custodes Telemon Heavy Dreadnought Weapons WIP

Once I had the weapons completed, I worked a bit more on the light to dark transition I was looking for on the shoulders.  When I got that to as good a point as I was likely to find, I added decals from the Forge World Legio Custodes Vehicles transfer sheet.

Adeptus Custodes Telemon Heavy Dreadnought WIP

I lightened the top third or so of the shoulder armor with thin layers of GW Wild Rider Red. Then I painted over all the red with a few thin layers of GW Casandora Yellow to even out the transitions between layers of red and to warm things back up a bit.  Ultimately, I did achieve some level of fade from light to dark on these shoulders; at least it's better than what I had last week.

Adeptus Custodes Telemon Heavy Dreadnought WIP

With decals applied, I put some time into the base.  I started with a a thick cork sheet broken into a random shape. I glued the cork down with wood glue, then add "gravel" to blend it in with the base in general.

Adeptus Custodes Telemon Heavy Dreadnought Base WIP

Next, I started to look in the bits box for fun little additions to bring things up a notch.  Some additional small rocks were added during this stage to break up the monotonous plain of the cork.

Adeptus Custodes Telemon Heavy Dreadnought Base WIP

I used small Irwin bar clamps to hold things down and make sure the cork and one skull are firmly attached once the glue dries and not "floating' on a layer of glue with air pockets underneath.  I don't typically do this, but the base here is large and seemed to warrant the extra measures. Here's what it looked like after I took the clamps off.

Adeptus Custodes Telemon Heavy Dreadnought Base WIP

Next, I'll add some Vallejo Black lava to the flat surface of the base (marking where the dreadnought will stand).  And once that dries, it'll be painting time.  I'll pin the dreadnought down once the painting is done, but before any weathering is added.  Check back next week to see how things turn out!  I should have the project in the DONE pile by then.

Best wishes to the many other DreadTober 2021 challengers out there.

Stay safe.

Cheers and Happy Gaming!