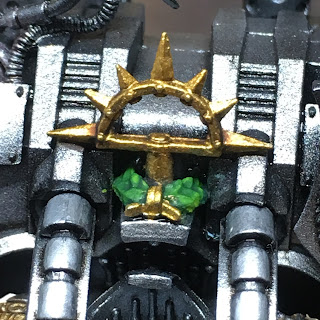
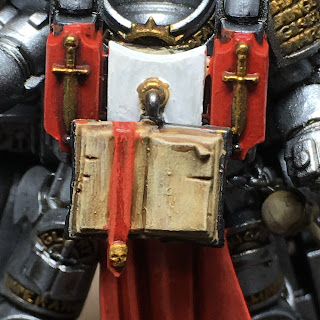
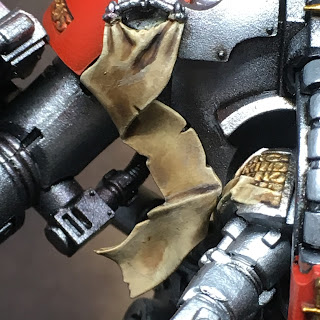
Greetings and welcome to week 2 progress on the Grey Knight Grand Master in Nemesis Dreadknight. For this week, I cracked on with the details on the knight. I began with all the scrolls and purity seals, then addressed the laurel at the base of the halo behind the Grand Master's head. Next the servo skull and the daemon skulls on the base got attention. For the skulls on the base, I chose different washes to add some interest and prevent the three very different skulls from looking uniform.
Here is where I was at after the first session of week two.
And some close-ups of the details...
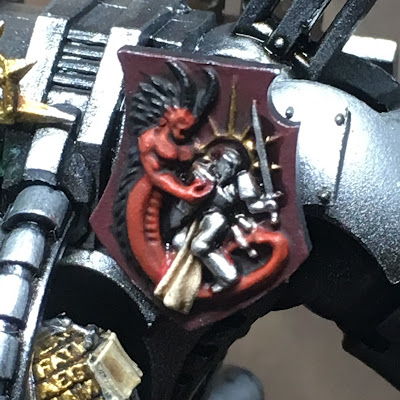
During the second session, I focused on the tilting shield and exhaust stacks while refining other details as well. The shield, while not very challenging with its raised detail, was a lot of fun to paint. Multiple point washes really helped bring out the details in such a small scene. GW Agrax Earthshade was used for everything but the knight's armor, where GW Nuln Oil Gloss was used instead.
I'll likely put some more attention into the exhaust stacks before I'm done but there are complete to a good standard for now. A Vallejo Rust (again, I neglected to capture the exact color) was used as a base coat. This was followed by two passes with a Agrax Earthshade wash and one pass with a Vallejo orange rust wash. Vallejo gunmetal was lightly dry brushed on followed by another pass with Agrax Earthshade. Once that was dry, Vallejo Steel was used as a final highlight. While waiting for various bits to dry, some Vallejo steel has been used to add fine highlights to the dreadknight armor here and there. A thorough pass of highlighting will roll up anything that got missed by this early tinkering to pass time.
The loin cloth was highlighted and shaded a bit more to increase its character. A few other details got attention as well, such as highlighting of the servo skull and halo, completion of the cable attaching the scroll to the front of the right shoulder, and some highlighting of the skulls on the base. Also, all the ribbed armor joints got a coat of Vallejo Dark Rubber with a GW Nuln Oil shade. Not seen in the pictures, I made progress on the sword hand by painting the grip and pommel. The hand is ready for my grand adventure with airbrushing power weapon effects for the first time!
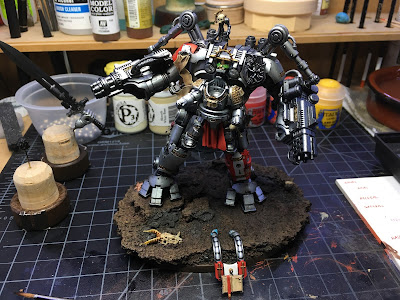
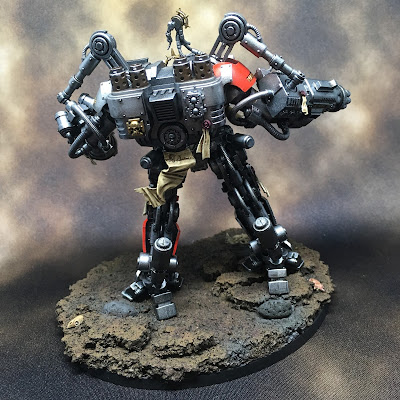
After session two this week the knight has edges a bit closer to done...
If I can fit in one more session this week, then I'll start work on the head and hit up the arm weapons. Red casing will be added along with black trim where necessary and some different metals to help them stand out from the metals in the rest of the armor. The heavy psilencer shows a bit of this from session two this week where Vallejo gunmetal was painted on the barrels and black trim added to define them a bit better.
Almost halfway through month and this project is coming along much better than I had imagined from the outset.
Cheers and Happy Gaming!





My my you are miles ahead of me and some others, love the scrollwork banner and the tilting plate shield. You’ll have this done in no time! Great job so far fellow Dreadtober-teer ;)
ReplyDeleteYes indeed...I think I was very much intimidated by the Deathwatch who I don't really have a great feel for paint-wise...it's always a push to get into painting the black. I very much enjoy painting Grey Knights! :) Best of luck with your project.
Delete