 |
| credit: swordmasterofhoeth.blogspot.com |
Greetings, and welcome to week two of MonsterMarch6. As you read this, we will likely be in week three with the projects going strong. Check out the recent challenge page to catch up with all of the other MonsterMarch6 projects. During week two I kept up a good pace masking and spraying camouflage colors.
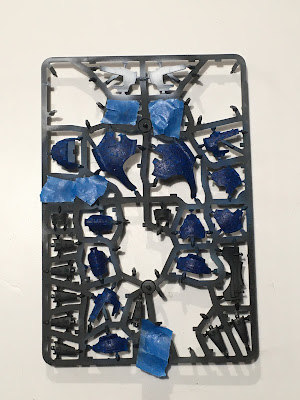
After a second round of taping tiny flecks of paint, I sprayed down the final camouflage color and let that dry, hoping for a good result once the tape came off.
While waiting for things to dry, I decided to apply many of the transfers to panels that were not being camouflaged. I have previously done this at a later stage, but I feel this time I'll get a better result if the transfers are around for the shading/weathering process.
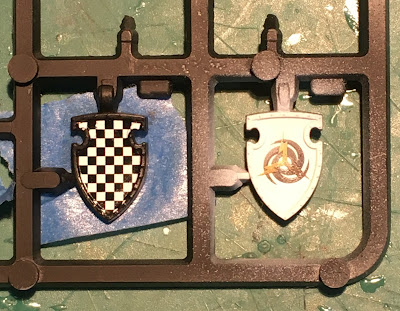
These transfers come from the GW Legio Tempestus transfer sheet. Fun fact, decals can be applied upside down! This became critical once I realized that the provided transfers for the gun shields, only fit one way. By flipping them over, I was able to have the same quadrants checkered on both left and right gun shields. The fit was decent; much better than me trying to hand cut custom decals.
I continue to paint my Tempestus engines as loyalists - apparently only recently turned traitor for the game. It's interesting that the provided transfer sheets don't provide a traitor look, and stay with loyalist iconography from before the fall - at least there is a noticeable lack of chaos or Horus iconography provided for Legio Tempestus.
I very much appreciated the checkered transfers for the shields and knees. Here, I have taken advantage of the left and right transfers to split them up and mirror the checkers on the outside lower leg armor (which I will sadly have to cut custom again...).
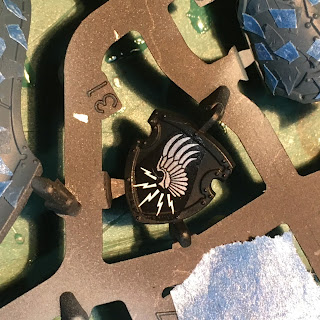
The Warbringer gets some sassy shields too. I'll have to look at the model more as it develops to determine if I add additional transfers to the Warbringer. I assume I will. It has many more camouflaged panels, so I am unable to apply transfers at this stage in any case. At the very least, I'll need to cut custom leg checkers. Much of the iconography does not look great over the dark camouflage, which is also a consideration.
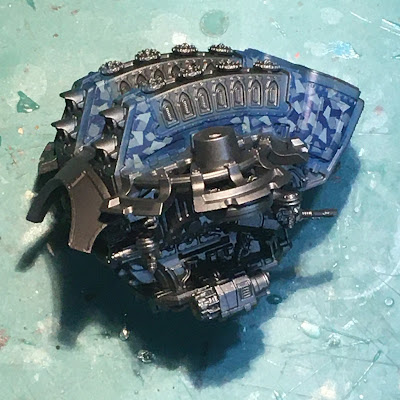
With the decals applied and the last layer of camouflage paint dry, it was time to begin removing the tape. The reveal is always a treat, but the process is trying. The layers of paint hold the tape flecks down well, and some care is needed when lifting them off to avoid making a ton of scratches in the new paint. A few scratches are fine and can either be touched up or painted as damage. Here's how the Warlord panels have turned out. I haven't yet pulled the tape from the Warbringer armor.
Pretty snazzy and appears to match well with the prior engines (all save the Reavers that got the original larger fleck pattern).


Painting in sub assemblies can be a thankless task, but the reveal is usually worth it. Looking forward to seeing these come together!
ReplyDeleteThanks! I'm chuggin' away...
Delete