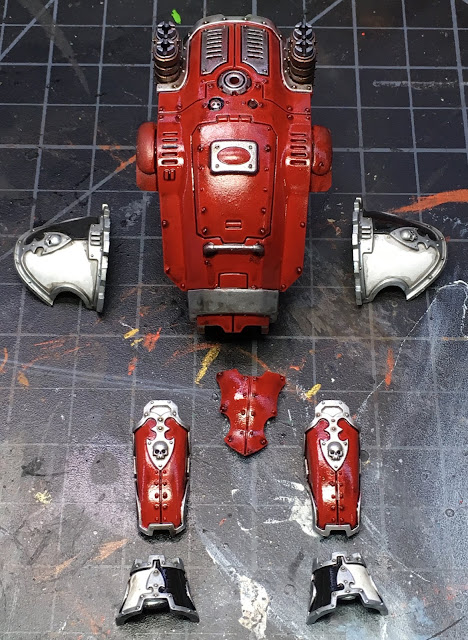
Continuing work on the second Armiger Warglaive. I went ahead and applied some Vallejo Gloss Varnish on the armor plates and red portions of the chain sword using an airbrush.
 |
| Gloss Varnish applied |
This was preparation for shading the armor with GW Nuln Oil. I must say I was not impressed with the results. Perhaps it is due to some quality of the Vallejo varnish. Perhaps I didn't have the first idea what I was doing. Regardless, I still got a lot of staining and ended up with much the same rework as before, in terms of cleaning up the over-stained armor. Here's where things stood. I have wiped much of the extra Nuln oil off the white shoulder armor, but you can still see the staining around the edges and it is visible on the shin armor.
 |
| GW Nuln Oil applied as a wash |
I'm going to practice the approach on some spare bitz using GW 'ard coat and possibly other varnish choices in my collection to see if I can achieve more meaningful results. Washing/shading is an important technique and I'd like to refine my skills there. But for now, moving on...
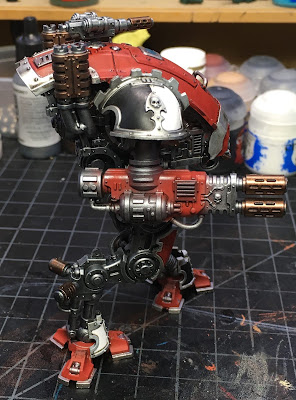
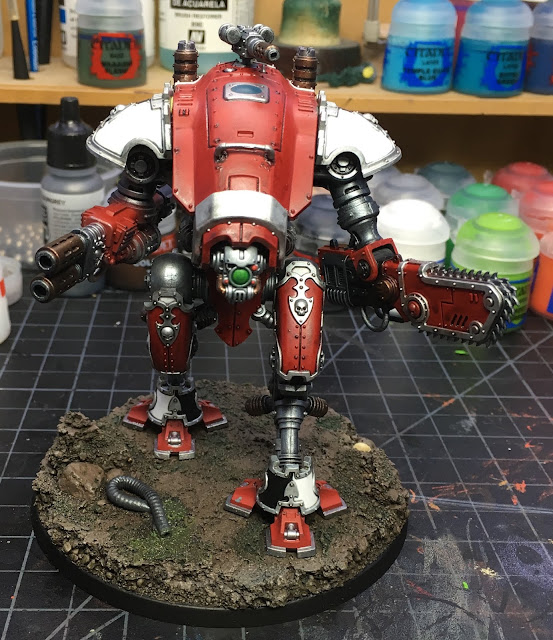
The Model Masters Lusterless Flat lacquer did its usual best and now I'm ready to continue painting. After a quick dry brush Vallejo Steel on the legs, the armor panels were glued on. The shoulders are only held on with poster tack at this point since they obstruct the arms from being added/removed. While the glue was drying, I took to the face and began adding more bronze details.
Now things are looking pretty good on the base. Not a lot of progress this session, but the Warglaive is still coming into its own.
Here's a parting shot with its twin.
A good start to my Taranis Household. I'm pondering on which knight to build next. I'd like to work on a Gallant given where the rules are at. But I also have a Warden and a Crusader to build. As I don't have a warlord at this point, I'm tempted to build the Crusader, which I had planned to use for my warlord since it has all the guns...at least until I pick up a Castellan. Oh...and then there are the two Helverin. I'd like to take a break form Armigers for now though.
I hope you have enjoyed my posts on the Armigers so far. Coming up, I have something new for the Deathwatch on the work bench for June.
Cheers and Happy Gaming!


No comments:
Post a Comment