Time for a change of pace. After painting up 1K of 30K Dark Angels, it's time to get back to my Legio Tempestus project for Adeptus Titanicus. During #MonsterMarch3, I finished up the Warlord Titan in the picture above. In April, I built the last two Warhounds. Now I'm batch painting the four Warhound Titans together. Well, at least through the the camo stage. Once all the armor plates are done, I may got titan-by-titan to wrap things up.
Oh - and all of the titans have names now! So first up, let's have a look at Turbo Canus. As with all of my projects, the first stage is a primer coat using Vallejo Surface Primer Black prayed through an airbrush. This allows me to prime inside with no odors or mess...though I do use a spray booth that vents outside.
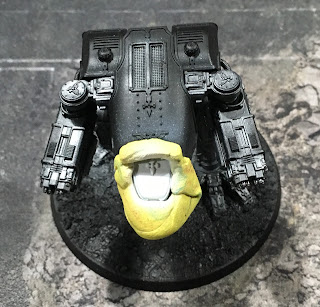
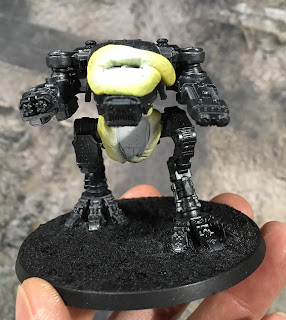
Then some poster tack was used to mask out areas that I planned to spray white. I am using white and back to present interesting livery/heraldry on each titan so there is uniqueness among all the camouflage.
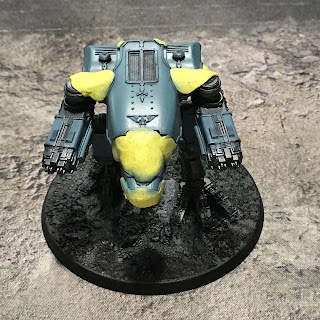
Next, the white was masked so I could spray down the first camouflage color. This is mostly helping me to control over spray. I'm not going crazy with the masking. I'll have some cleanup to do as a result, but nothing too bad. I am preferring the putty/poster tack as it doesn't stick to the paint but adheres over all the rough areas so there won't be much if any under spray. Using masking tape on these rough surfaces doesn't always work well, and can allow of a lot of under spray which means more cleanup.
Here is the result of the first camouflage coat. While put on first, this is actually the "top" layer of camouflage. When using this method, you have to think of your color scheme upside down. So the top color is first, then the middle color, then the final bottom color. I've described this in detail with the Reaver and Warlord paint jobs in past posts.
Next up was Facta Belli. All four Warhounds were sprayed with Scale 75 Black Metal over skeletons and metal weapon bits. Facta Belli got a white head. Some white panels will stay white, others will get black checkers.
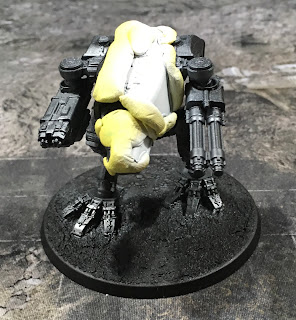
After painting the white, it had to be masked over so I could paint in the first camouflage layer.
And there we have it...
Next came Dente Ferrum, with the same treatment.
Dente Ferum will sport a half-black, half-white heraldry pattern.
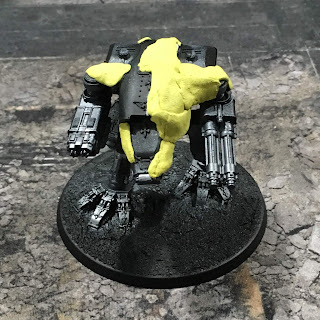
Black is easy to touch up, so I've only masked away the white here while laying down the first layer of camouflage.
And last up was Lux Curat.
Lux Curat gets a white head and chest. Might get checkers as well. I'm still thinking on where checkers will go, other than on the leg armor, of course. More on that later.
And final masking for the camouflage layers.
So that's four titans ready for camouflage masking. Lots of little tape pieces to cut now. I batch painted the leg armor stuck down to cardboard with double sided tape.
After a coat of white for one side, the masking was moved so I could paint the first layer of camouflage paint. For Legion Tempestus, we want black and white checkers on the "outside" halves of the leg armor, and the rest of the livery on the inside.
Once titan will have black on the inside, the other three will get camouflage. Working out checkers with the embossed shin armor should be interesting.
So a picture heavy post, but I wanted to demonstrate how each titan can get simple changes to make them unique while maintaining a consistent over all legio color scheme. lots of tape work to do now as I mask in and paint the camouflage patterns. But at least the panels are relatively small, except for the main carapace. I look forward to getting more paint on these awesome models.
Cheers and Happy Gaming!






No comments:
Post a Comment