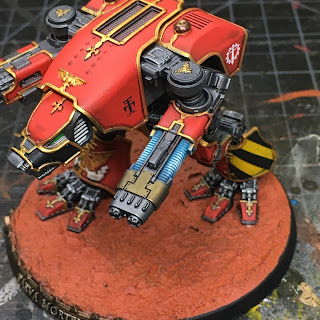
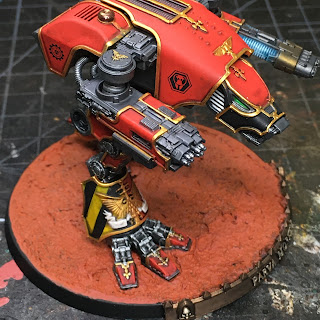
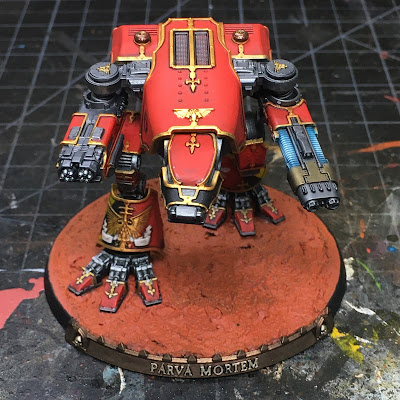
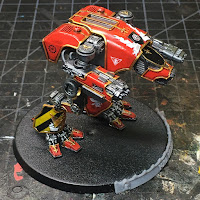
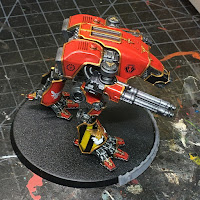
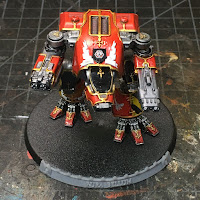
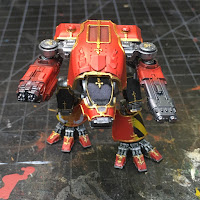
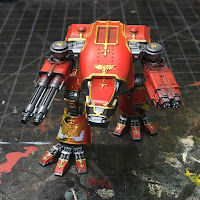
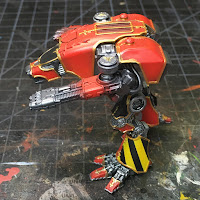
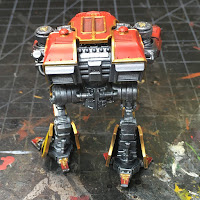
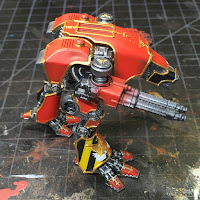
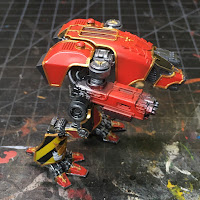
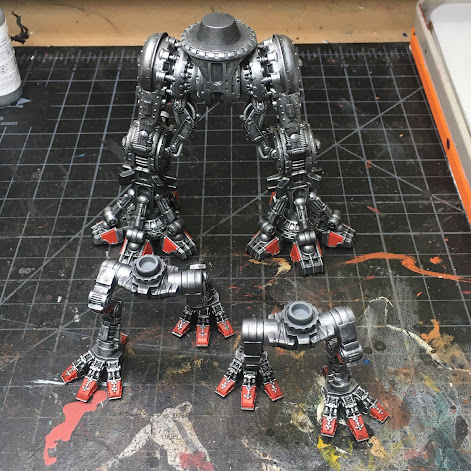
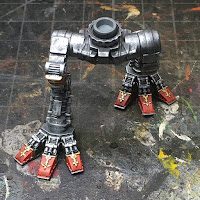
Progress continues on the tiny titans! I couldn't resist the title. At this point in the process things DO look a little like these guys just put on the toenail polish. An in truth, things have progressed a bit farther than can be revealed above. I started batch painting these titans by shading and then dry brushing the legs.
So, shiny but with a bit more definition perhaps? Then I started in with the red panels on the legs, which led to the inevitable toenail polish look. On the war hounds, this got more fancy with the edition of gold trim.
This led me to focus a bit more on the Warhounds since they are smaller and thus easier to complete - oh and much more likely to get used in my games at this point. I may run them to completion before focusing back on the Warmaster.
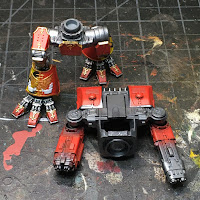
By now I'm feeling in the groove, ready to assemble the leg armor and move the leg assemblies to a battle ready state so I could move on to the bodies...I'm really moving! So I clip of the lower leg armor, lay it out so I know what goes where and realize this...
The problem (if it isn't obvious) lies with my intended for the Legio Ignatum heraldry for my collection of tiny titans. The hazard stripes are supposed to be on the *outside* of the armor, not on the inside. So, only one armor panel above is correct. Three need to be repainted. This revelation led to a period of wild gesticulation and much profanity followed by a little sulking, then a mad search through the bits box for extra leg armor parts. But I had none, except for the unused traitor parts from all my old kits.

Not one to waste an opportunity, I then recognized this was the perfect opportunity to test out a can of Testors Easy Lift Off (ELO) paint remover that I picked up a while back. As you can see above, the product is quite effective. Better than effective, though, it is FAST. I went from disaster to ready to prime in 5 minutes, no kidding. No over night soaking, no scrubbing and scrubbing, no extra soaking and going at it all again. Just applied the liquid, let it sit a minute or two as recommended, and brushed the paint off with an old drybrush I had easy to hand (an old tooth brush would have been even better).

The resulting product can be seen above, full of the removed paint. THIS is something that shall remain in the hobby bunker for years to come. I can imagine how useful it would be for eBay rescues and the like. It's both effective and a real time saver. Now, I will prime the armor again and repaint the heraldry - correctly this time. I'm pretty sure I even made hay in a prior post about the importance of careful planning to avoid just this kind of issue. Never let it be said I don't lead by example...even if it's a bad example.
So that was my adventure this week. I will pick up the posting pace as the project progresses and I have more to show. The time required to plug through this phase of drybrush and trim doesn't leave a lot of room for sexy progress pics. I'm sorta glad for the little mishap so I had something more interesting (hobby-wise) to post at all!
Best of luck with your own projects. Go and get some of this Testors ELO product. If you ever strip hobby paint, you won't regret it for a minute. I should add there is very little odor and my skin appears no worse for the wear. I'm not particularly cautious with, nor kind to, my hands when hobbying.
Cheers and Happy gaming!


