 |
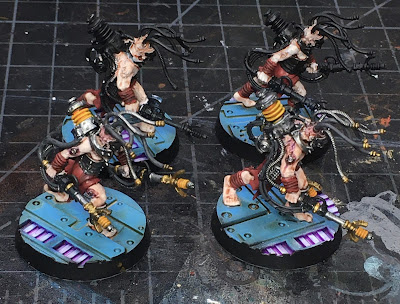
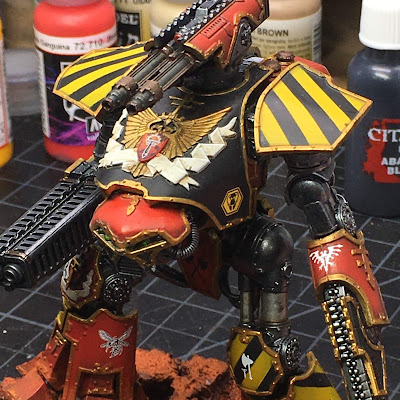
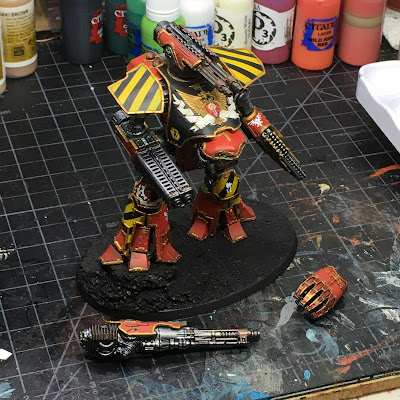
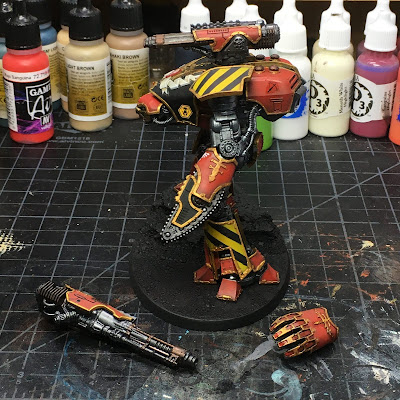
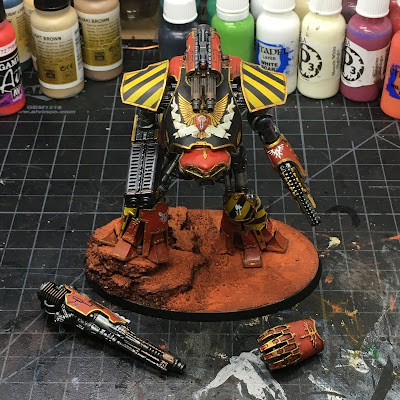
| Newly Cast Pad on an Interemptor for Comparison |
Greetings!
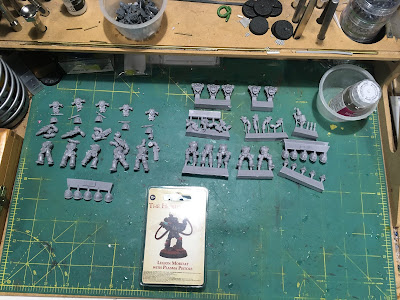
In this HowTo post, I'm going to discuss how I went about casting extra Dreadwing mark III shoulder pads for my Dark Angels collection. These shoulder pads have become available as part of the new Dark Angels Legion Interemptor Squad set from Forge World. They look great, and I thought I could make use of them with other Dreadwing squads in mark III armor, but I didn't fancy buying other Interemptor sets just for the pads.
I found this great tutorial on
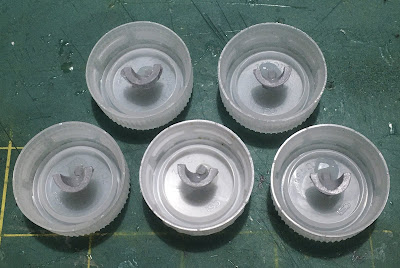
Master of the Forge and decided to give it a go. Here are a couple shots of the pads being set up to create the molds.
I used a little 5-minute 2-part epoxy and fixed the pads to the bottle caps using their existing sprue gates which I clipped carefully from the typical Forge World resin block. You can easily attach your own posts from bits of left-over sprue or plasticard.
Then I mixed up a batch of
blu-stuff and poured it carefully in the caps, trying to avoid air bubbles and not spilling it over the pads themselves. I tapped the molds quite a bit (careful not to spill them) to release small air bubbles that get trapped regardless. The molds sat as shown below over night (though it cures sooner if you are in a rush, I guess).
Next, I used a hobby tool to pry (um, gently lift) the molds out of the bottle caps. You should end up with something like this...
The next step is the tricky bit, in my opinion. You need to locate the pad in the mold and slice down along back of the pad along its flat edge. See the picture below. Doing a bad job here will effect the accuracy of your cast around the back of the pad, and could wreck things all together, so go slow. I sliced down only enough to peel open the mold enough to insert the casting putty. This step helps with alignment and prevents risking mold slippage, if you had two separate, not connected halves.
With the molds created, I mixed up a roughly 50:50 batch of Green Stuff and Magic Sculp as described on Master of the Forge and placed a blob in each mold, trying to estimate the amount of putty needed for a good cast with no voids (not enough putty) and no deformity (too much putty). This is the second tricky bit, honestly.
Then the molds were closed and pushed back into the bottle caps. I suggest using a hobby knife to cut/shave off the threads on the inside of the cap. I didn't, and it was a big pain pushing the molds back in, and possibly led to some deformity in the casts (see below). I left the molds over night again to be totally sure things were done hardening.
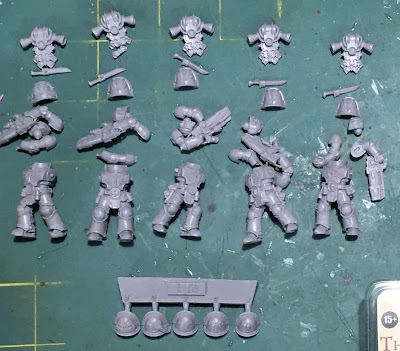
Then I popped the molds out of the caps and split them again to pull the new casts out. Handle carefully and the molds will be reusable. As seen above, I deformed the pads a bit (they are a little squished compared to the original) and had some minor mold defects, but they work more or less if you aren't a perfectionist. Certainly a great effort for the first try. I had to do a lot more trimming than I would have liked, but four of them are usable. The second from the right is the most squashed, and likely a reject, though some well painted battle damage could certainly make it work.

Taking a second look at the example, the newly cast pad works and only careful inspection of the model should reveal that one pad is a bit more deformed with the other. I'm willing to bet I could improve on this easily enough. The hardest part is cutting open the mold so that it makes a good cast. I think I butchered a couple. I would look for a clearer way to locate the pad in the mold if I were going to do this again.
Still, a very easy way to get a usable cast, and less complicated shapes would likely cast more easily too. A very approachable method for those cases where you need a few more of something that isn't easy to get directly, or to cast custom items from a scratch built piece.
Hope this is helpful to the hobby-verse in some way and further promotes the great tutorial on
Master of the Forge.
Cheers and Happy Gaming!


