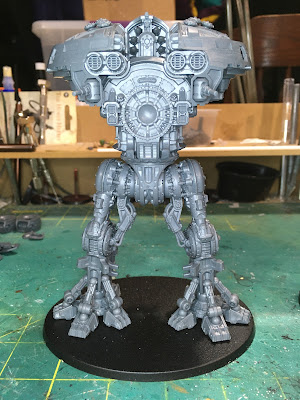
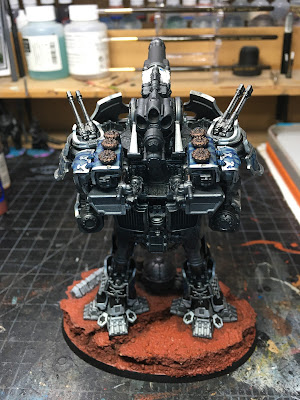
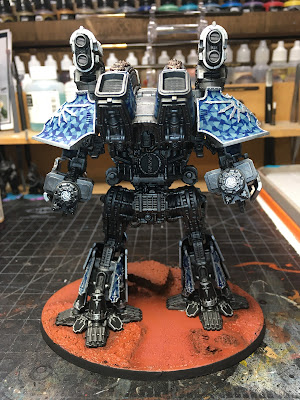
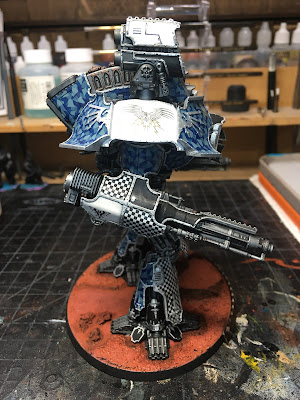
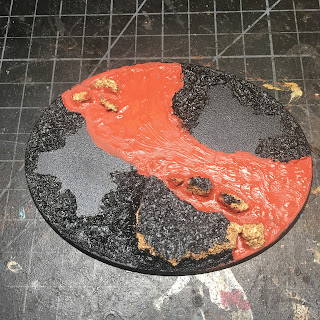
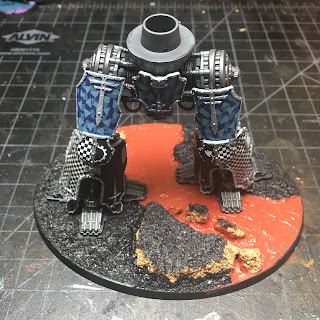
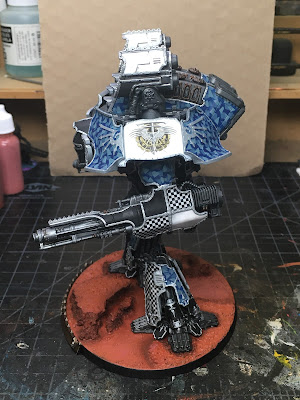
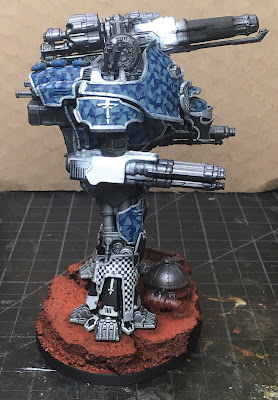
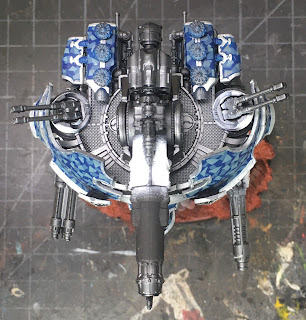
Greetings, and welcome back. I have some progress on the Legio Ignatum Warmaster Titan to share this week. These AT titan projects all go through a stage where there isn't much to show and so my posting gets sporadic as I work through them. I like to post twice per week, but on Tuesday I had a bunch of sprues with various stages of paint on them...not much to share. Now, on Friday, I can at least walk through my process to paint the Legio Ignatum colors on the armor.
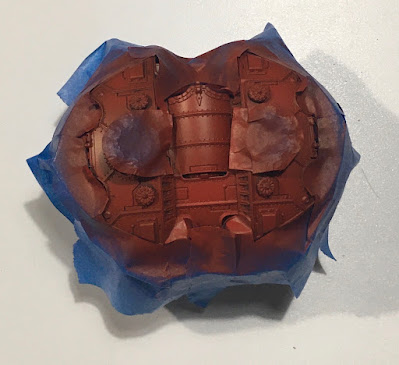
After priming everything black, the masking process began. The first stage is to plan out the paint scheme and identify which colors will go on which panels, same as I did with the Legio Tempestus engines for MonsterMarch. This can be tricky with the left and right side bits being different in some cases, so I work carefully here. Above, I masked out anything that was going to stay black, or be black and yellow stripped, so I could lay down the Legio Ignatum red. For the exact colors used, please refer to the paint recipe tab above.
After a couple coats of paint from the airbrush, things look like this. I typically finish up for the night here and come back the next day to pull the tape off.
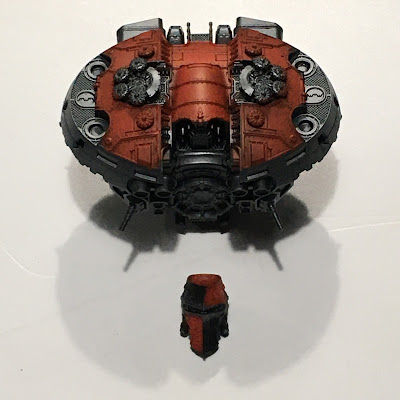
Here's where things end up with the tape pulled off. Now it's time to mask the red parts and work on the yellow stripes.
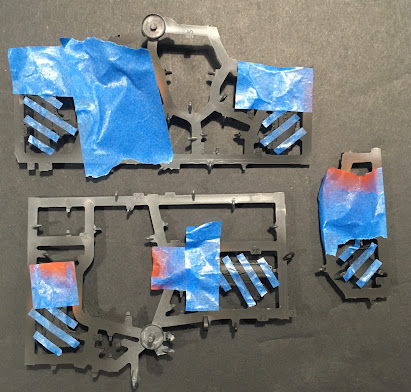
I'm masking just enough to keep from accidentally getting over-spray on the red. If you are careless, just plain messy, or want to be super careful, go ahead and mask everything. Once the parts getting yellow stripes are isolated, it's time to mask off the stripes.
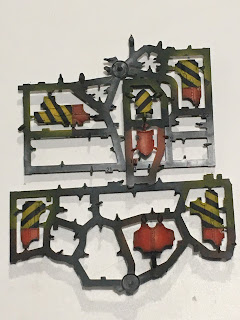
My approach is to use fine line masking tape of a desired width to lay down the stripes. I bought a variety pack at some point with various sizes so I choose a width that works for the scale of model I'm working on. I couldn't tell you what size I'm using here...thin 😁... I usually lay the first piece across the middle of the part to establish the angle - looking for some recognizable points on the part (like corners, rivets, etc) to orient the tape so I can reproduce it on any mirrored parts, like the lower leg armor, or the upper carapace armor. This helps insure the stripes are at a uniform angle and balanced across the parts. The tape is laid down to cover the entire part, stripe-by-stripe. The I go back an peel off every other stripe, revealing the paint underneath - these will be the yellow stripes. Above you can see the results, after the tape is removed. You can use the tape you peel off one part to mask part of the next so you won't wast too much tape in the process. By laying the tape in this manner, you avoid any measuring, and the possibility that your stripes will be uneven in width across all the parts.
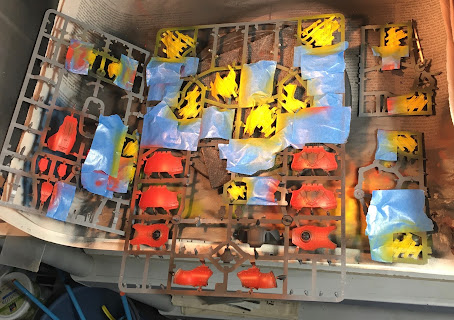
Then the yellow is sprayed on. The paint I use for yellow here is thin, so several light coats are sprayed on until I get a vibrant yellow with little or no black showing through. Also, and for those with keen eyes, a couple puppies ran through the
spray booth while I was working on the project and got paint on
themselves too...can you spot them above?
After another night of drying, the tape is removed to reveal the final patterns. At this point, no matter how carefully I mask, there is always some paint that sneaks under the tape. I guess this is better than tape that is more sticky, but then peels off the paint when it is removed. I'll go back and touch up the black before sealing it all with a gloss coat. The gloss coat is for later shading, and to fill in and smooth out a bit of the texture since the yellow stripes will be a bit raised on the black paint due to their multiple layers of paint.
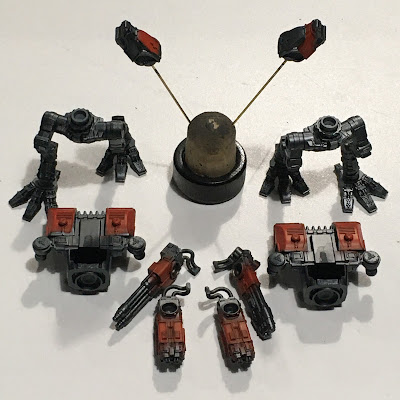
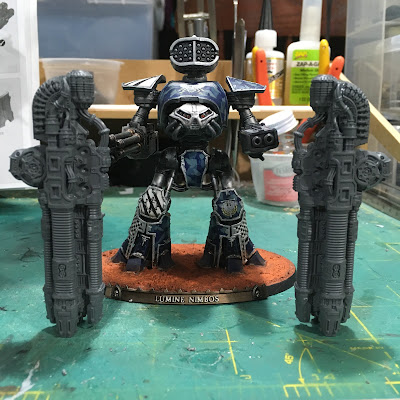
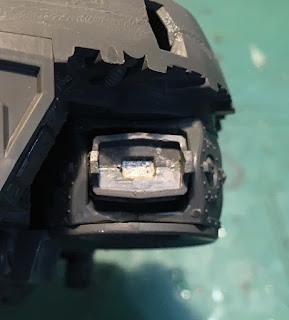
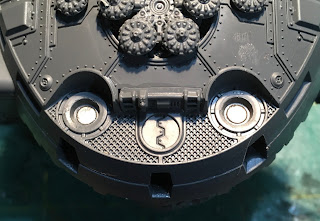
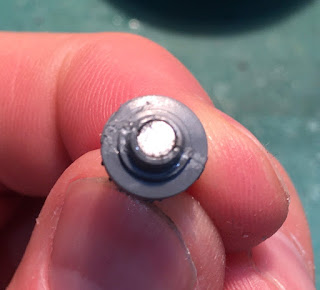
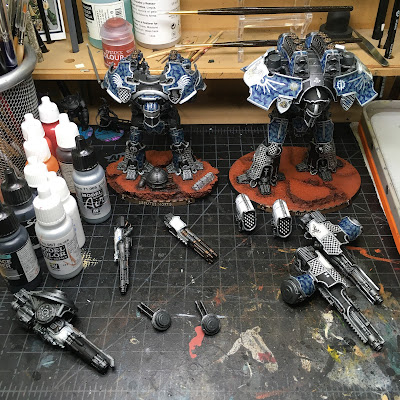
As I worked on the Warmaster titan, I decided it would be efficient to also put some paint on a couple Warhound titans I had built last year. With paint in the air brush, its just easier to make progress like this. And once the base colors are down....I might at least carry on and complete them right? Incentive! So now I have three titans in progress for May painting fun. These are my only magnetized Warhounds. I did that here because I wanted the option of trying out the new weapons options from Forge World, but didn't want to build whole new Warhounds for them. Sorry Legio Tempestus - perhaps I'll add a couple more magnetized engines for that Legio at some point...but probably not.
These hounds will have stripes only on their leg armor. I will have four Warhounds in total for Legio Ignatum, once these are painted, and I like to vary the heraldry. These proud engines demand some individuality afterall.
So that's what I've been up to this week. next week I'll have more paint work to share as I carry these projects forward. Not sure if I will continue to batch paint the three engines or separate them into individual projects at this point. Check back next week to find out.
Cheers and Happy Gaming!


